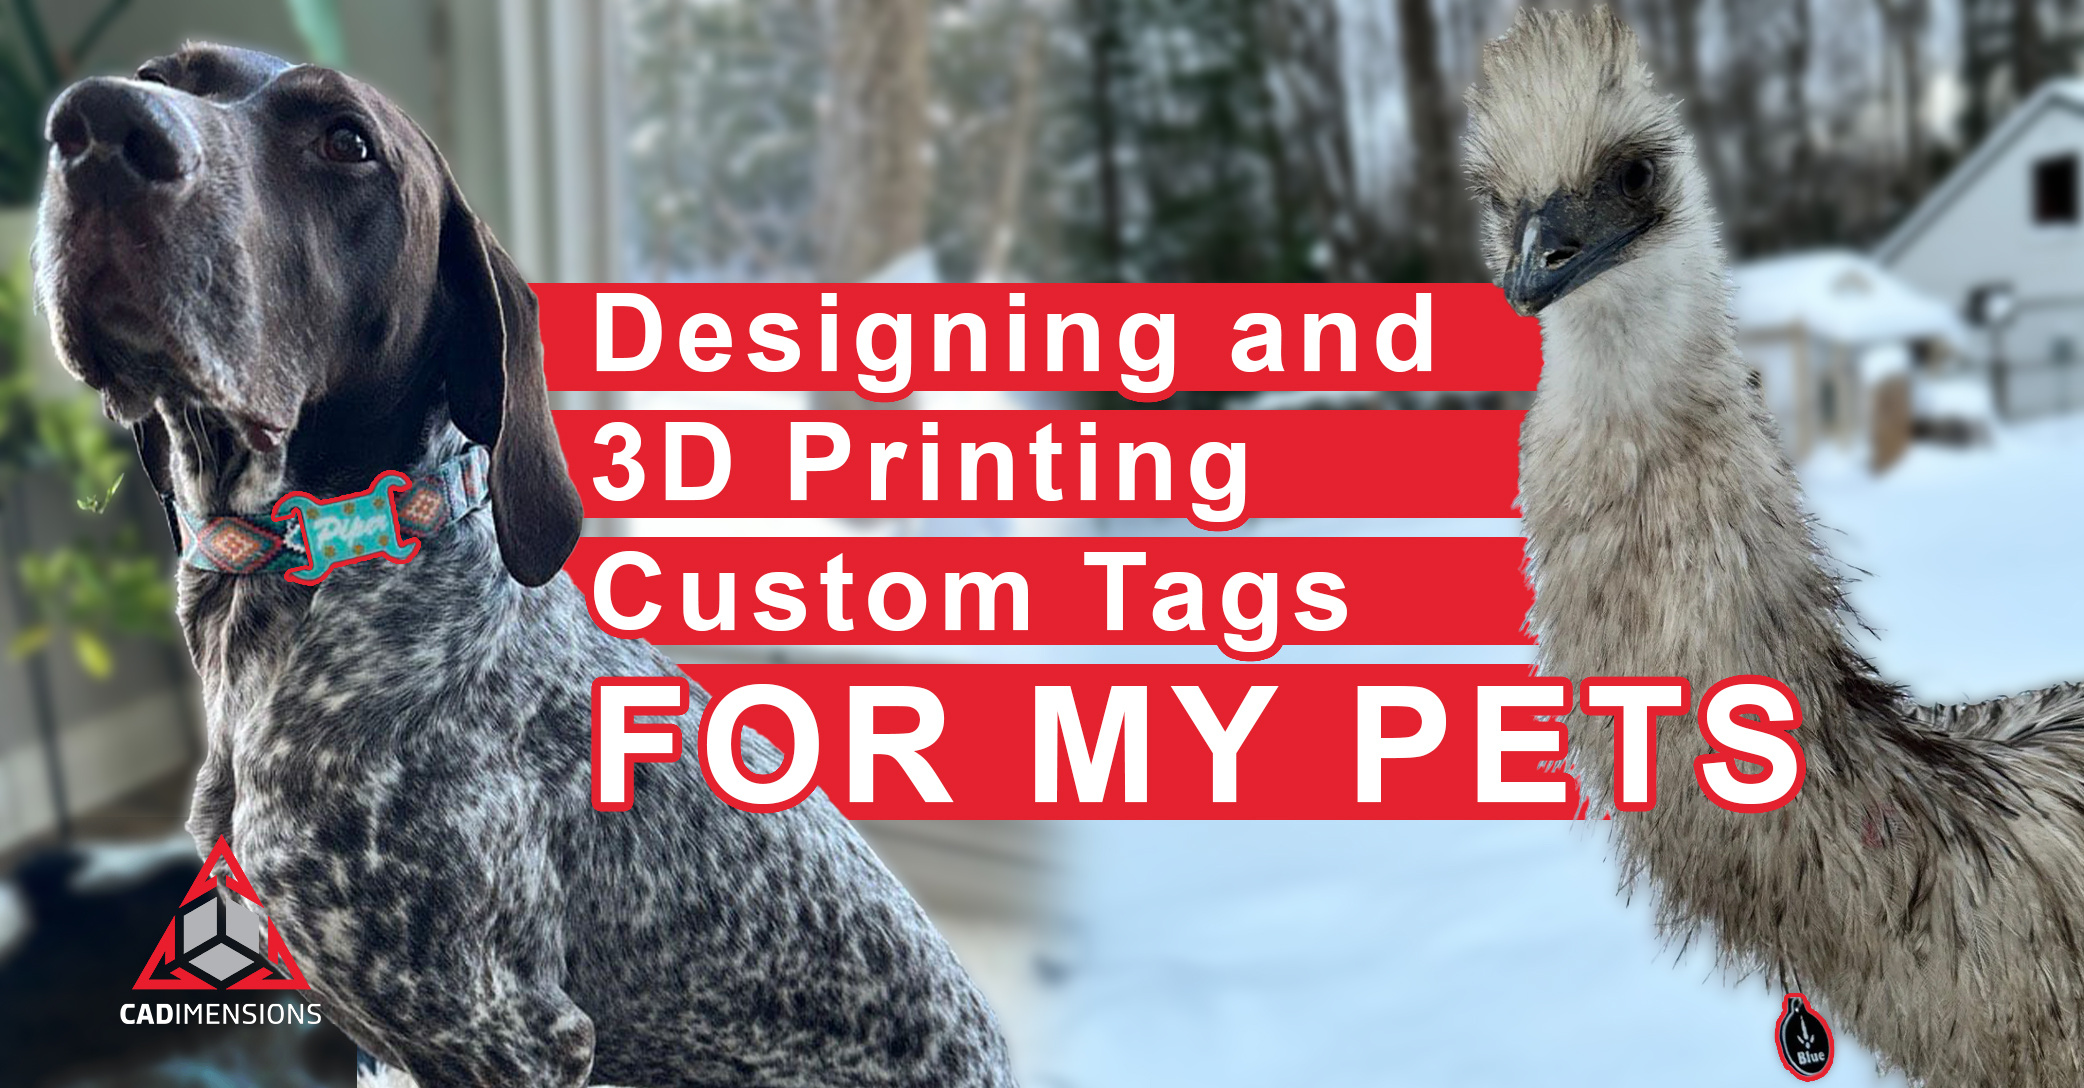
One of the best things about using SOLIDWORKS is the limitless potential it offers. The question is, what can you create? Personally, I’ve used SOLIDWORKS for a variety of home projects—everything from designing replacement drawer handles to drafting layouts for home renovations. This winter, I decided to take things a step further and create something a bit more unique: a custom pet tag for my favorite remote coworker—my dog Piper, along with some other furry (and feathered) friends.
Designing A Custom Tag

My goal was to design something truly one-of-a-kind. Sure, there are plenty of options available online, but making it myself allowed me to fully customize every detail—size, color, font, and even special touches like the silhouette of Piper’s ears.
I searched online for designs tailored to her breed but couldn’t find anything that felt quite right. Designing my own tag gave me the freedom to craft something perfectly personalized. This flexibility is especially useful when designing for unique pets, like my pet emu, Blue! While creating the tag was relatively straightforward, getting Blue to pose for a photo with her new accessory was a whole different challenge.
 |
 |
Planning Your Design Intent
Let’s talk about the process of designing custom creations in SOLIDWORKS, particularly for items you may want to 3D print—like pet collar tags. For accessories like these, it’s crucial to think about ergonomics (yes, even for pets!) before diving into the design.
For instance, a tag for a large dog needs to be a very different size than one for a small pet. Scale is key, as is considering how the tag will be attached. Will it dangle from a metal loop at the front of the collar, or will it feature a flush design that clips directly onto the strap? If you’re working with an existing collar, measure its width to ensure the tag’s dimensions and attachment loops are appropriately sized.
I decided to create both types of tags mentioned earlier. The round tag had a flat design with a hole at the top. It's crucial to adjust the hole size to fit the type of clip you'll use to attach it to the collar. For the round version, I used a photo of my dog as a sketch reference and traced it with the spline tool. By forming a closed contour, I was able to extrude the design. Make sure your design is sturdy enough to print effectively, taking into account your printer's capabilities. You can also add text, like a name or phone number, to the tag if you wish. The great thing about this is that you can trace almost anything! We also created a tag for Sasha, who has unique and distinct ears. Details like these can be small, so they would likely print best on a polyjet printer or other printers capable of fine details. Below are the images used to trace and create the unique additions to the pet tags.
 |
 |
 |
 |
Consider Printability
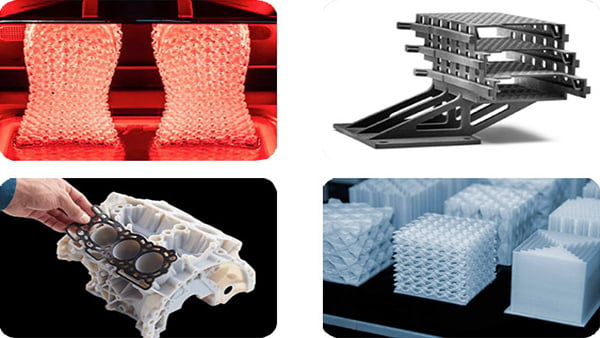
Another important factor is printability. Depending on the type of 3D printer you’re using, details like scale and print orientation can significantly impact the quality of the final product. For example, with FDM printers, fine details must meet a minimum size requirement to print cleanly. In one of my designs, I incorporated tiny footprints, but they were too small and closely spaced, resulting in poor print quality. However, the same scale details were not a problem for other 3D printing technologies, for instance polyjet. The same proportions were tested using polyjet, and gave favorable results. You can even print in multiple colors easily. If you are interested in having something printed with a technology you might not have access to check out our 3D printing services.

The orientation of your design on the printer’s build plate also plays a big role. For example, I tested two versions of my pet tag: one flat and one curved. The flat design printed easily since it lay flush on the print bed. However, the curved version introduced stepping, which detracted from the final appearance. Printing it in a different orientation was also attempted, but had its own challenges, both in regard to appearance and durability. You can see the results of trying it in two different orientations on the build late below. Orientation can also affect the strength of the part, so it’s an essential consideration during the design process. For this tag, I ended using FDM for the flat versions, and polyjet for the curved version.

Revisions & Re-Design
 |
While designing your parts, you may encounter elements that don't turn out as expected, and that's perfectly fine—it's all part of the process. For example, when creating these tags, I initially designed a large flat version that clipped onto the collar. I opted for a flat design to improve print quality. However, upon testing the prototype on my dog's collar, I realized it was too long and protruded awkwardly instead of conforming to the dog's neck. This led me to revisit the design, shortening it, adjusting the loop size, and developing an alternative curved version using different printing technology. You can see the original prototype to the right, prior to these modifications.
Things to Consider
No matter what you're designing, whether it's a custom tag for your four-legged (or two-legged) companions, the process is quite similar across various projects. It begins with a clear vision of what you want to achieve, making it crucial to plan your design intent meticulously. This involves considering the purpose of the item, the environment it will be used in, and the specific needs of the user, whether human or animal. Ergonomics play a significant role, ensuring that the design is comfortable and functional for its intended use. Understanding the software and printer specifics is equally important, as each tool has its own set of capabilities and limitations that can affect the outcome of your design. Be prepared for design revisions, as the first iteration may not always meet your expectations. This iterative process allows you to refine and improve your design, ensuring it meets all your criteria.

For the 3D printed tags I crafted at home using my FDM printer, I aimed to ensure that the text was not only prominent but also easily readable from a distance. Achieving this level of clarity and visibility was crucial, especially for a functional item like a pet tag, where quick identification is key. To accomplish this, I employed an oil-based Sharpie pen to meticulously highlight the raised text. This technique not only enhanced the text's visibility but also added a unique, personal touch to each tag, making them stand out. The contrast created by the Sharpie ink against the base color of the tag made the letters pop, ensuring that the information was legible even in low light or from afar. Alternatively, you could experiment with changing your filament color during the printing process. This approach allows you to create a striking visual effect, where the text and the background are in contrasting colors, adding another layer of customization and personalization to your project.
Final Results

Shown above are tags printed in full color on the polyjet machine here at CADimensions. The beauty of designing and printing your own creations is the endless possibilities for personalization and innovation. So go ahead and start creating! The only limit is your imagination, and with the right tools and mindset, you can bring any idea to life, transforming a simple concept into a tangible, functional piece that reflects your creativity and attention to detail. And if you have an idea, but maybe need some help getting it from paper to CAD, let us know! We have a great team of designers and engineers ready to help.

Ditch Boring Tags. Design Something Epic With SOLIDWORKS
Learn how to create 3D-printed pet tags as good-looking as your best friend on this next webinar. We'll walk you through the whole process from using SOLIDWORKS all the way to preparing it for 3D printing.