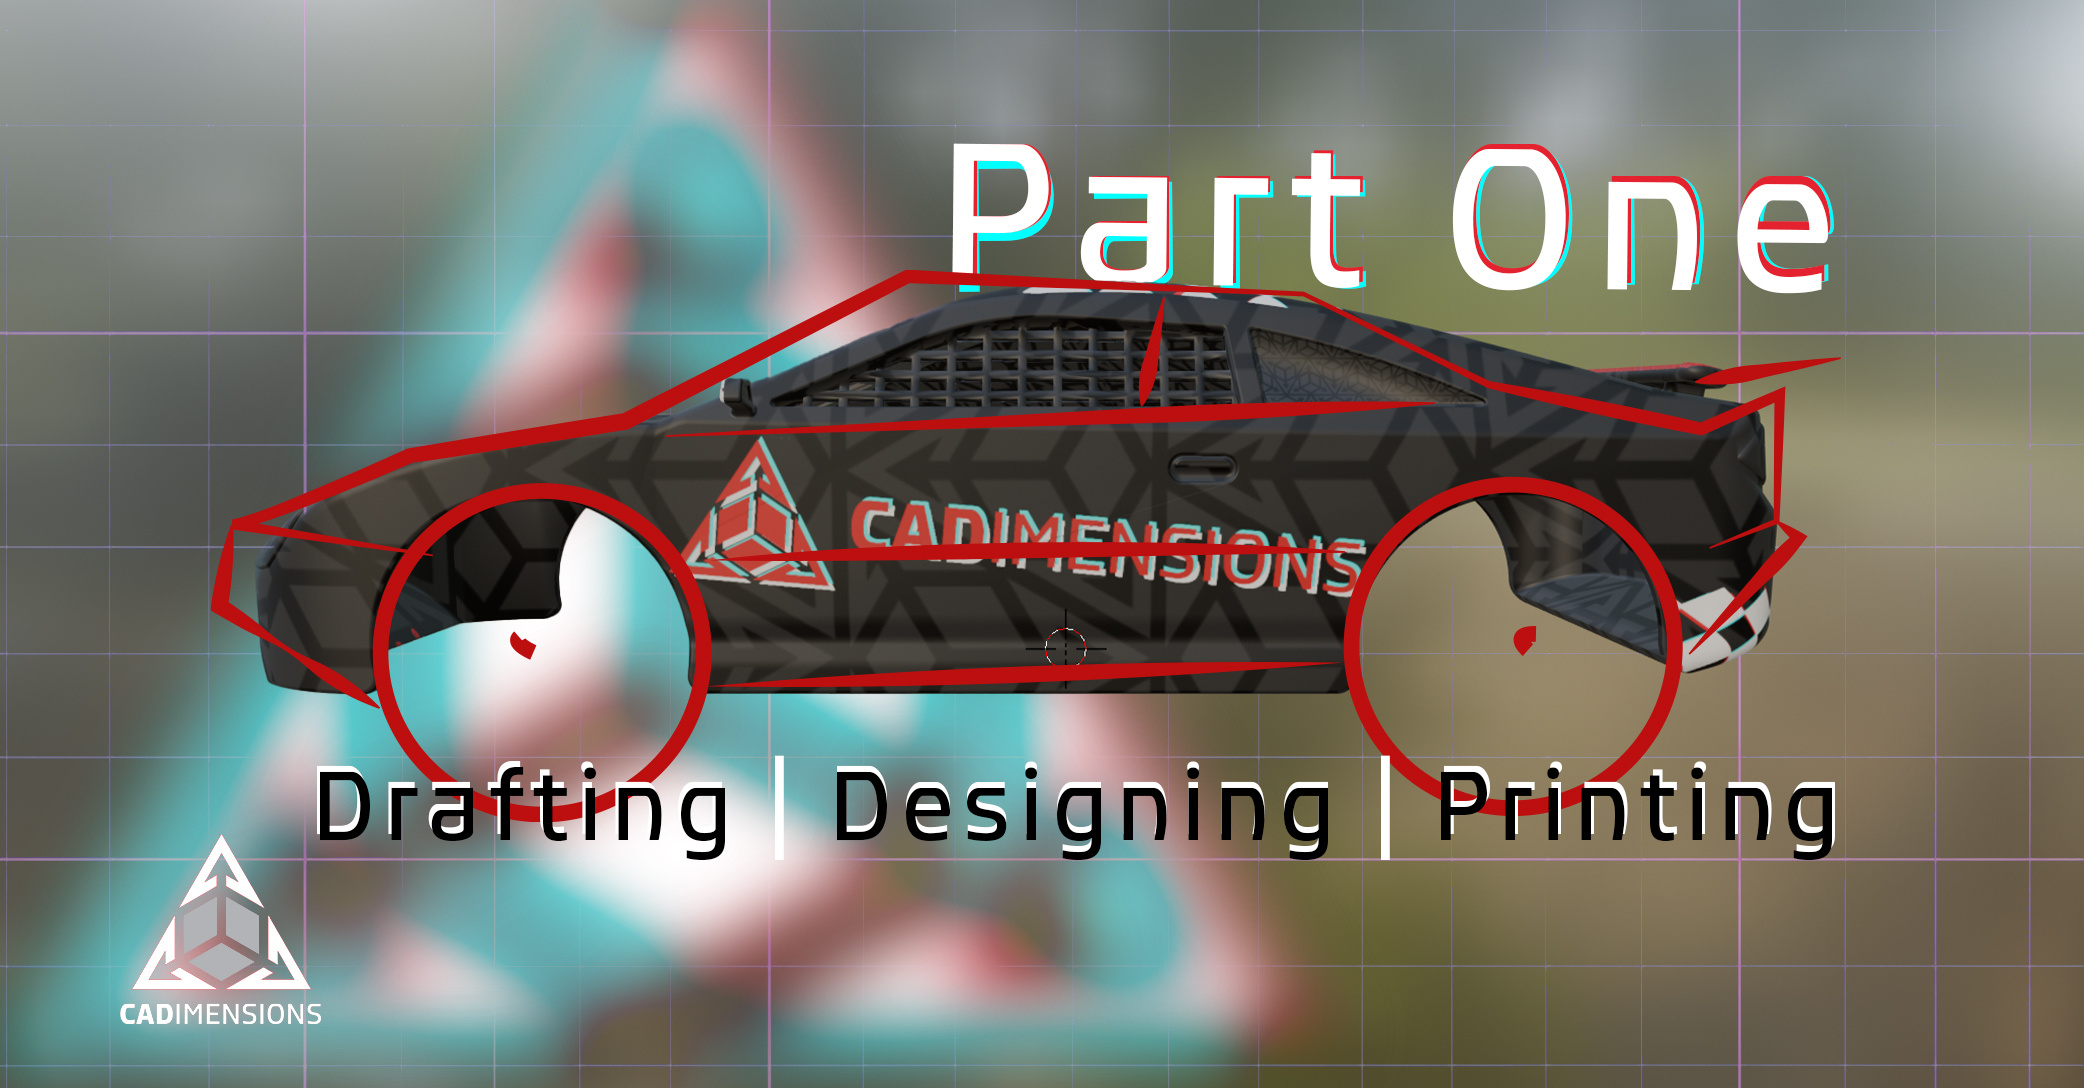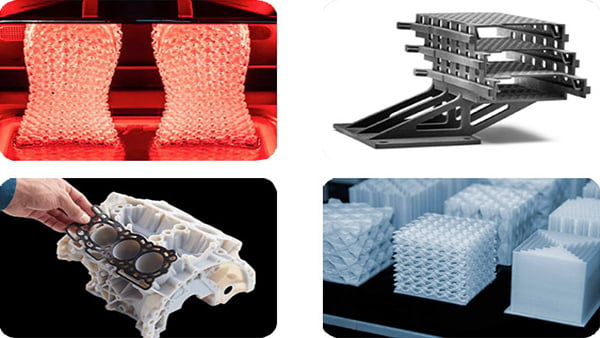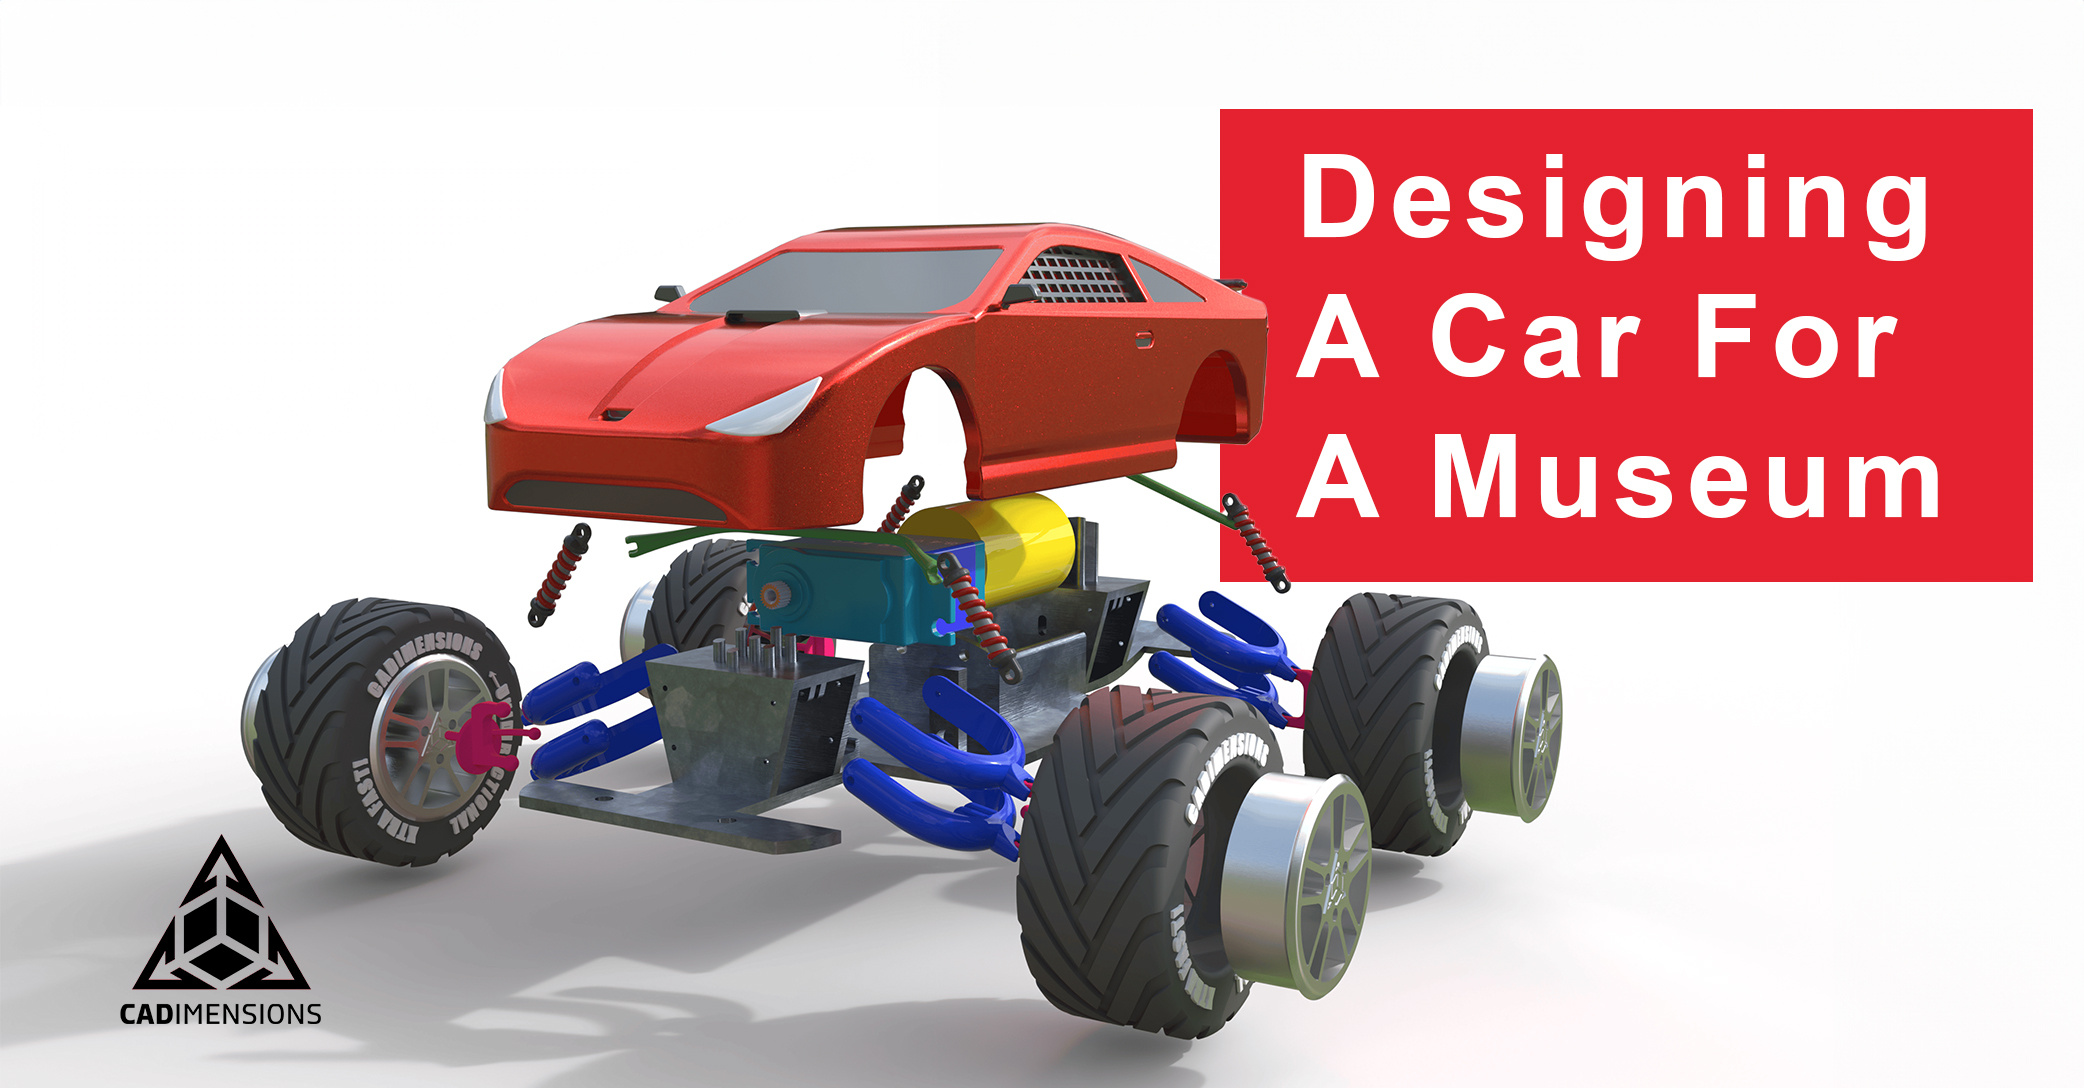
This summer I had the opportunity to be a part of an amazing project CADimensions is doing in collaboration with the Museum of Science and Technology (MOST). The project entailed highlighting the world of 3D printing and design. For this endeavor, a group of us worked together to build and showcase the workings of a RC car, from napkin sketch all the way to 3D printing a physical model and assembly. A digital exploded view of the model can be seen below.

My Piece of the Puzzle
Each of us took on different areas of the project, and my task was to create the car body itself. I contemplated different ideas, whether it should look like a Hot Wheels car, or maybe something from Mario Cart, but I kept coming back to the idea of making it in the style of one of my first cars, a Toyota Celica. This car holds a spot near and dear in my heart as I had many adventures in it and always loved the look of the sporty little hatchback-coupe. Did you know you can fit a full size bathtub in the back? For being little, it was quite versatile. I had even accented mine with black rims, spoiler, mirrors and hood scoop. Okay, okay enough chat about my old car, but you can see where I got my inspiration from.

Another reason I decided to use this car as the basis of my model, was because of my familiarity with it. I had the car for over 10 years, and knew the form of it well. This helped me when it came to eyeballing proportions.
Planning My Design Intent
If you have ever modeled anything in CAD before, you know there are a million and one ways to go about creating something. I am a big fan of surface modeling, especially for things that are organic in nature. Take this bat for example that I did in SOLIDWORKS. Since there are not many straight lines or edges, surfacing was the best approach. The only caveat is that it takes a long time and lots of features and references planes.

Modeling the Car
The truth of the matter was that this model did not need the perfection and details of surface modeling. That was not my design intent, as this car needed to be done on a rather tight schedule. Instead, I looked at how to create the model using standard features more so than surfacing, as it would be a more efficient process. In a different scenario, surfacing modeling would have been a great option.
To start, I grabbed some orthographic images of the car and used them as reference images. You can you use sketch pictures and place them on planes to help guide you for dimensions and proportions. I then sketched the side profile and extruded it. It is important to note that I only focused on doing one side of the car. By keeping my right plane in the center, I was able to focus on completing one side, and mirrored it over later in development. If there are areas of non-symmetry, those features were added after the mirror.

After the side profile was extruded, a similar process was used for the front and top views. The logic behind this is that it is very similar to physical sculpting or modeling something. If I made this out of wood for instance, I would take a similar approach by cutting the main profiles on a bandsaw. Once I had the overall shape created, then its time to go in and start creating the details. Its best to start with things that have a greater influence on the overall geometry such as the wheel holes. This helps when working on a parametric model as everything built downstream is built off of these larger features that came first.
It's all in the details
In the video above you can see all the steps it takes to add details such as the headlights, hood contours, and spoiler. Using custom reference planes can be advantageous when working with complex surfaces like where the headlights are located. As you can see, there is a lot that goes on in the background, even without surface modeling. The model was also shelled, meaning that it was hollowed out so that the internal components could fit inside. A recommendation for doing shells is to put very small features such a fillets after the shell, as this usually provides better results.

So whether you are creating something complex or more on the simple side, the more tools you know, the better. If one technique doesn't work, try another. That is the beauty of SOLIDWORKS, there are more ways than one to do something. If you would like to expand your arsenal of tools, CADimensions offers multiple classes to help you grow your SOLIDWORKS skill set. You can check it out here at https://www.cadimensions.com/training/.

Get The Training You Need To Create The Next Big Thing

-

Part 1 – Designing and 3D Printing a Model Car for the MOST Museum
Follow the journey of designing and a model car for the MOST Museum. Learn about the P1 project collaboration and innovation from start to finish.
-

Part 2 – Unveiling the 3D Printed Model Car at the MOST Museum
Explore the journey of designing and 3D printing a model car unveiled at the MOST Museum, showcasing the role of 3D printing in modern product development.