In 2009, GrabCAD began as a Cambridge, Massachusetts-based startup and served as a collaborative platform for engineers to manage and share CAD files. By 2013 there were 3 products that made up GrabCAD: Community, Workbench, and Toolbox. The number of GrabCAD users steadily increased as did the need for a cloud-based collaboration solution in the manufacturing industry. There was a range of challenges with prizes in the Community, sponsored by companies such as Ultimaker and GE. The Workbench was used to support the design of physical products ranging from nuts and bolts to commercial aerospace parts. It was hosted on an AWS secure server and had a range of features such as viewing of all major CAD file formats, model comparison, file locking, and management of bill of materials and revisions.
The Rise of Software in Additive Manufacturing
As GrabCAD was evolving, so was the world of additive manufacturing. There were, and still are, a myriad of 3D printing software tools available for machines at every price point. There is software that is open source, closed source, used solely for slicing parts and preparing print jobs, used solely for file modifications, predictive analysis, design for additive, etc. And don’t forget the CAD software as a piece of your additive manufacturing software workflow. We may never get one software that can do it all, but we have been seeing a large focus on software in the additive manufacturing industry. The equipment is constantly improving, but as the industry continues to grow, manufacturers are now addressing the issues of scaling their additive operations. With that the need has been recognized for better software tools to streamline workflows, improve productivity, increase accuracy, reduce downtime, and increase visibility into the entire process.
Stratasys Secures GrabCAD
Stratasys has consistently been at the forefront of the additive manufacturing industry. From the invention of FDM to the expansion of Polyjet, P3, SLA, and SAF technologies, they have a large portfolio of products and materials. In 2013, Stratasys acquired GrabCAD and understood the need for a more robust software platform to support their additive manufacturing equipment holistically. Prior to the acquisition, the software for preparing a print job on a Stratasys machine was not consistent between FDM and Polyjet technologies. With GrabCAD, they were able to bring all their current and future technologies under one application, built on a robust cloud-based platform with native CAD file reading and a large community of users, many of whom were already using 3D printing.
Introducing GrabCAD Print
Thus became GrabCAD Print for FDM and Polyjet. An industrial slicer for industrial equipment. When Stratasys added 3 more technologies to their additive portfolio, they began focusing even more on the software side of their workflow. They consistently pushed updates to the software, adding new features and functions based on user feedback. As P3 and SAF were implemented into GrabCAD, the amount of features grew exponentially. Stratasys realized that GrabCAD was turning into much more than a slicer. Enter, GrabCAD Print Pro.
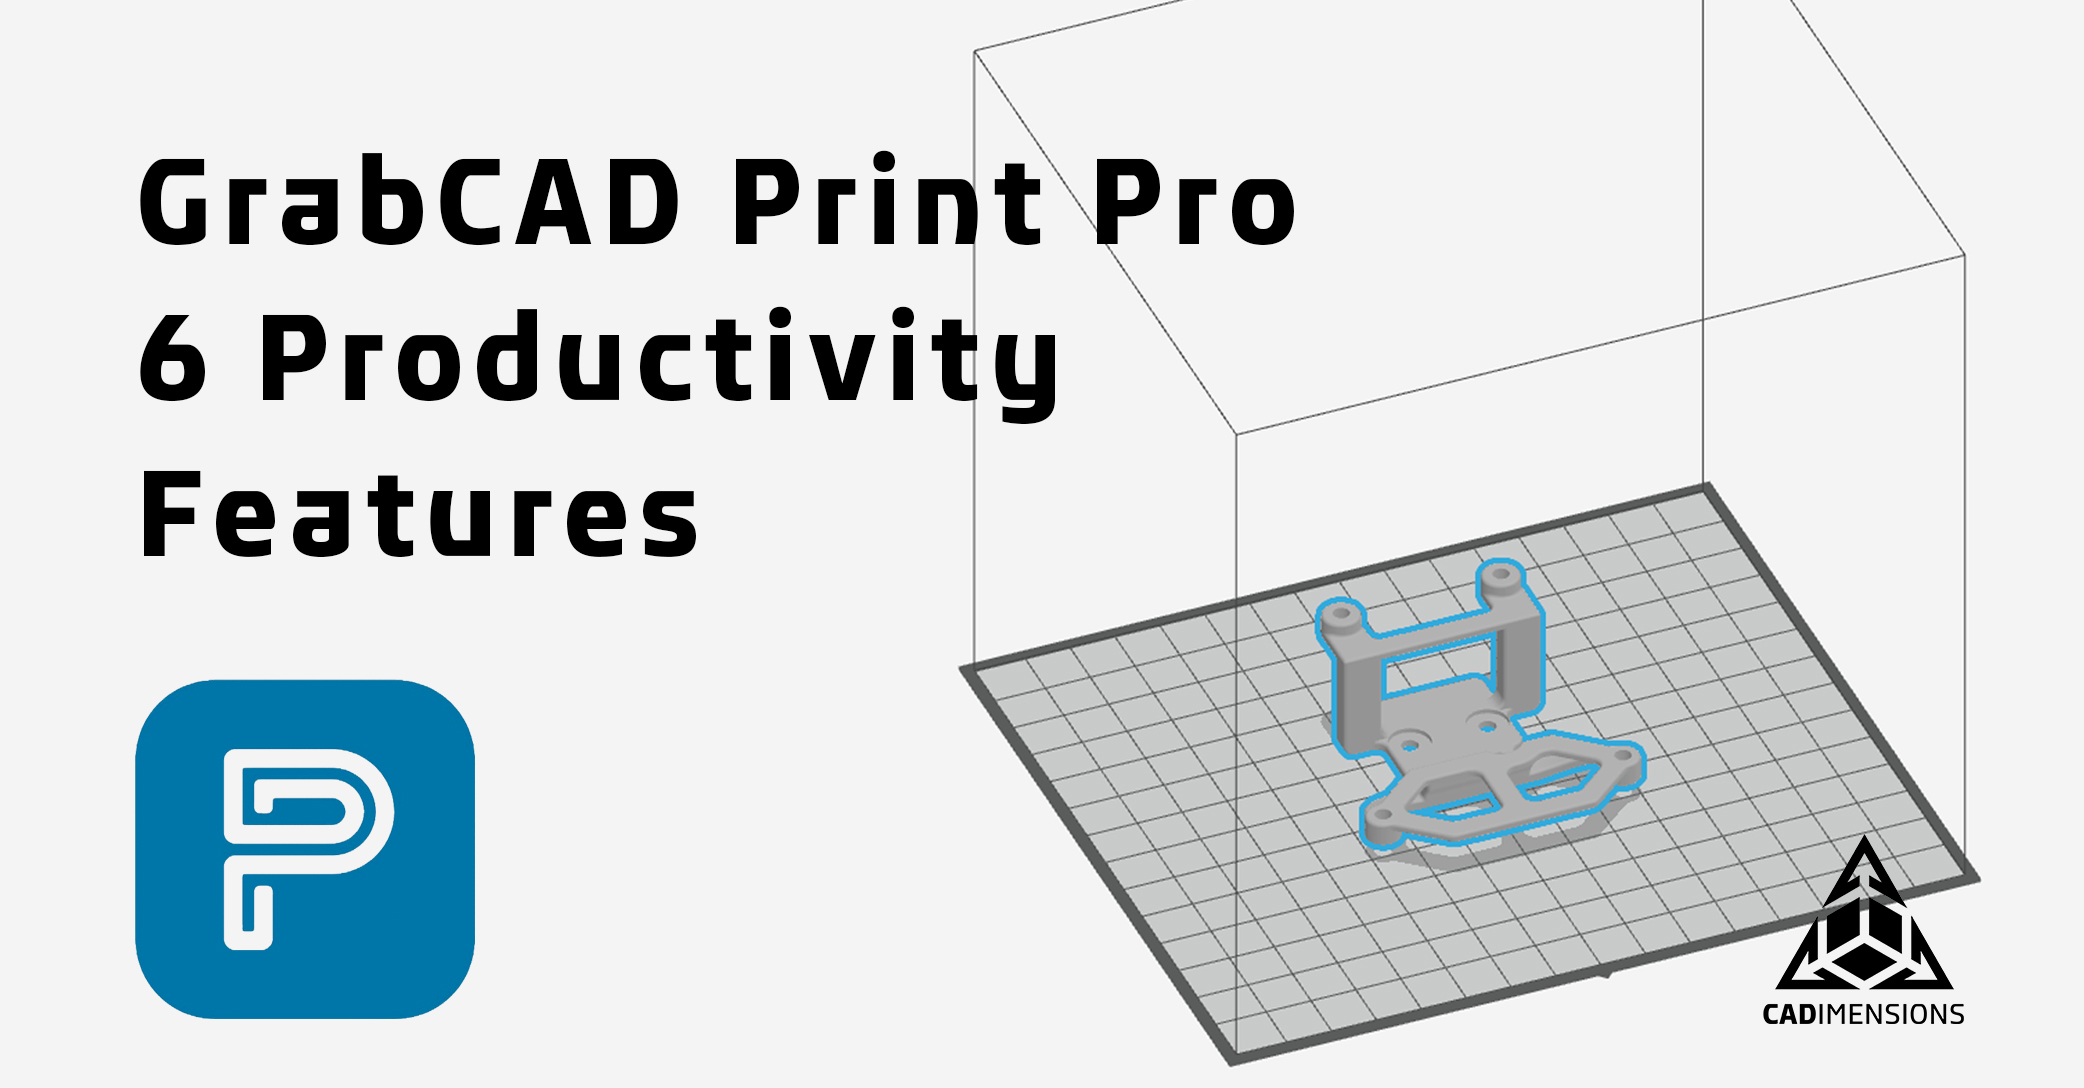
GrabCAD Print Pro
GrabCAD Print Standard is, and will continue to be, free. GrabCAD Print Pro is packed with added functionality and was developed to streamline workflows, increase throughput, and improve the cost and quality of your parts.
Below is a useful comparison chart showing a current snapshot of GrabCAD Print vs Print Pro. The number of tools and functions in GrabCAD Print Pro will continue to grow as the product receives consistent updates. Each technology in GrabCAD (FDM, Polyjet, P3, SAF) has a specific set of tools relevant to the technology, and certain tools, such as 3D Array, are available across multiple technologies. The Polyjet Research Package is also now live in GrabCAD Print Pro which includes features such as Liquid Printing, Printing on Substrate, and Element Insert for the J7/8 series printers.

Let's highlight 6 features and show how they can improve your productivity, accuracy, and additive intelligence. If you are interested in more information about specific features please reach out! We can help you set up a trial, or provide a live demo of the software. link to schedule demo with me?
Accuracy Center
One of the flagship features launching with "Print Pro" is Accuracy Center. This is a tool for analysis and correction of FDM parts using 3D scan data. Support for other technologies is also being added. Very simply put, Accuracy Center works like this:
First we take our original CAD model, shown below on the left, and print it. Then, we 3D scan the part to capture the geometry into useable data, shown below on the right.


The next step is to import the original CAD model into GrabCAD Print Pro, as seen below. In this example we are using a Fortus 450mc.


Then, we import the 3D scan data into Accuracy Center, compare it to the CAD model, and generate the WAM or Warp Adapted Model. The WAM is the corrected model outputted from Accuracy Center. ![]()

In the image above you'll see the results of the comparison. Notice we have a Print Accuracy Score of 54, which is poor. The Accuracy Map shows the distribution of the deviations, with significant undersized and oversized outliers.
After generating the WAM, we can export that model then print and scan it once more. The image below is showing the results of comparing the scan data of the printed WAM, to the original CAD model. Notice we now have a Print Accuracy Score of 82. The Accuracy Map is also showing much better results with a larger percentage of deviations falling closer to 0 inches. The outliers have been eliminated. Relatively quickly, we've been able to learn more about our printed parts with Accuracy Center, and can correct for the repeatable errors of FDM.

Depending on the part, the limit to improving the accuracy by repeating this process is roughly 3 iterations of printing, scanning, and generating the WAM part.
Accuracy Center allows you to quickly understand problems, save time before going to metrology, and produce more accurate parts. This leads to fewer iterations, increased throughput and reduced scrap.
The right 3D scanning equipment and software to pair with Accuracy Center can depend on what you are producing. If you are interested in leveraging Accuracy Center and would like assistance setting it up right, reach out to us!
Use Accuracy Center to:
-
Improve the accuracy of your parts - be right (or wrong) faster
-
Increase your yield and throughput
-
Reduce scrap and lead times
.png)
Per-Part Estimation
This next tool was built with productivity and additive intelligence in mind. Per-part material usage estimation and costing allows the user to receive estimates of material usage for every part on the tray in a single operation, and export or copy the data to spreadsheets. This significantly reduces time spent scheduling print jobs, estimating single part trays for RFQs, generating invoices, and tracking internal material usage.
To show you how this works we have a tray of different parts, shown below on a Fortus 450mc.

The goal is to estimate the material consumption and cost of each one of the parts. Prior to Print Pro, this had to be done individually, slicing each part and exporting the data into a separate costing software. This would take a lot of time and clicks when working through many parts.
The first step is to arrange my parts on the tray and slice them, shown below.

Once the parts are sliced, we can view the Tray Estimations. In the image below you'll see the print time, 15h 1m, and the consumption for both model and support material. There are two other tabs with valuable information: the Build Report and Costing Rates.

The Costing Rates is where you set the costs for your prints. As shown in the image below, you can set a price for the material, as well as an hourly rate and per-part fixed cost, and save those values.

Now, when we click on Build Report as shown below, we have an itemized list of the parts, their material consumption, and their cost. We can then export this information to store and track the data.

This tool greatly improves workflows by reducing the number of clicks and software needed to estimate part costs. This means you can confidently batch jobs together knowing it won't require additional time to cost each part. This will also help with additive intelligence, providing more insight into the cost of your parts as you scale.
Use Per-Part/Tray Costing to:
- Estimate parts more quickly and accurately
- Reduce software swapping
- Increase throughput by eliminating repetitive tasks
Labels
The Labels tool is a fast way to add text, either debossed or embossed, onto your part. You can also create re-usable template labels with automation to embed part numbers or create serial numbers.

As seen in the image above, simply click on the model, type in the desired text, and set your parameters. This is great for labeling prototypes, tooling, batches, and production lots. Adding labels to your prints will also reduce post-processing time and improve traceability. Performing this operation in GrabCAD Print Pro means you don't have to swap to a different software and can press print faster.
Shown below is an example of using a label template with automation to embed a part number.

Use Labels to:
- Quickly add text to your part
- Label production batches with part numbers
- Track and trace your parts
3D Array, Positioning, Create/Dissolve Assembly
The next set of tools were developed to make print prep faster, easier, and more precise.
Amongst these Packing Optimization Features is the 3D Array tool. This allows you to duplicate your part into a 3D matrix, and build parts in Z. The feature was originally introduced to GrabCAD with SAF technology for nesting, but it is also available in FDM technology. This method of printing may not always make sense in FDM due to long print times and high support material consumption, but there are cases with certain geometries where utilizing this feature can drastically increase throughput.

In the image above, a simple locator block is being duplicated into three, 11 x 6 grids stacked on top of each other.

Within a few clicks, we have 198 parts on a Stratasys Fortus 450mc as seen above.

The Position tool, shown above, enables exact positioning of single or multiple selected models in X, Y. This means more precise location control, dense packing, improved throughput, and reduced print prep time.


The Create/Dissolve Assembly tool shown above allows you to select models, either mesh or CAD, and group them into an assembly for part packing and tray optimization. This tool is extremely useful when maximizing your print volume and packing mixed builds.
Manufacturing Templates
As an additive operation scales, typically the number of people involved with using the printer also increases. There can be lot of users slicing and sending jobs to the printer. This is great for utilization, but can slow down throughput and increase the risk of errors or mis-prints due to less-experienced users. With Manufacturing Templates, the model properties, tray properties, and user preferences can be set and locked. Then, all users can be working off the same template which ensures printed parts are consistent. Multiple templates can be saved for different job types as well.

Manufacturing Templates allow you to define, enforce, distribute, and use proven customer or internally defined presets.
Use Manufacturing Templates to:
- Speed up workflow
- Close skill gap - fewer human errors and less scrap
- Synchronize departments
Partner Plug-ins
The last "feature" of GrabCAD Print Pro to highlight is the support for 3rd party plugins. Stratasys is partnering with the top additive software companies in the industry to bring their tools into GrabCAD Print Pro. This will further accelerate the development of the software and continue to drive additive intelligence. To start, Stratasys has partnered with these three software companies:

- AlphaSTAR: toolpath-driven analysis and quality assesment
- Castor 3D Printing Workflow Optimization: automatically identify parts suitable for 3D printing
- Cognitive Design Systems: AI driven design and manufacturing optimization
An Ever Evolving Product
GrabCAD Print Pro will continue to grow alongside Stratasys equipment. New updates and features are expected on a consistent basis and the sky is the limit for functionality with 3rd party plugins. This is just the beginning.
Print Pro provides the tools Stratasys users need to better estimate costs, increase throughput, improve accuracy, and bolster the additive intelligence of their organization. This piece of software will ensure you get the most out of your machine and are set up for success as you scale. We have noticed Print Pro speeds up the learning curve for new additive users, reduces customer service visits and downtime, and accelerates the confidence and expertise of the user groups. Check out this case study from our customer, American Additive. Link to case study
If you'd like to learn more about GrabCAD Print Pro, we have the resources you need! The FAQ document here is a great place to start. We are also more than happy to schedule a live demo and have a discussion about your specific use-case for GrabCAD Print Pro.