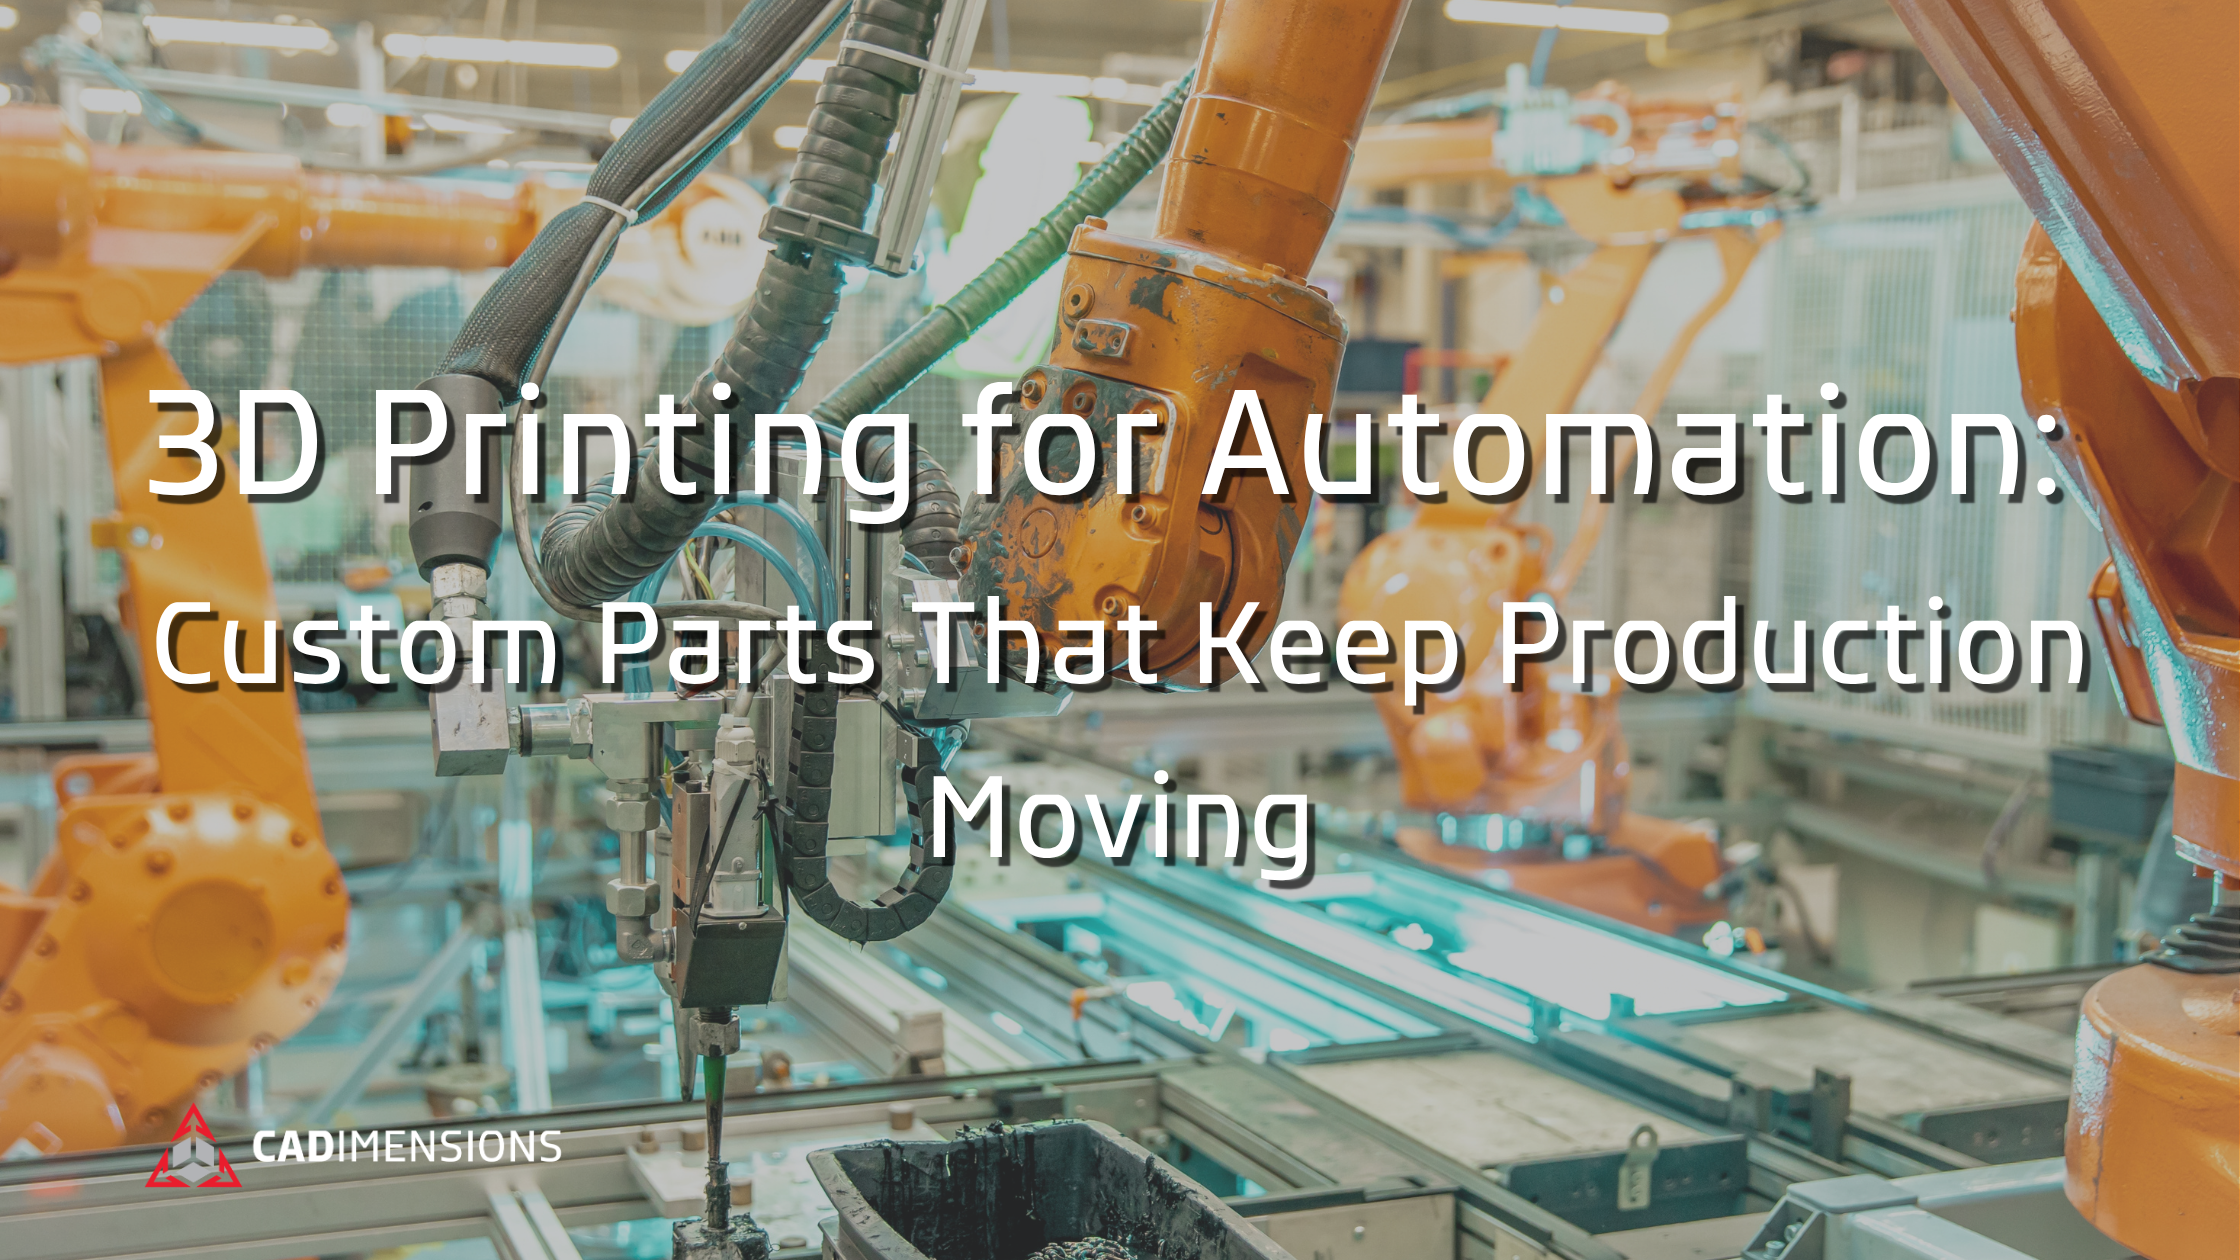
Automation can improve speed, consistency, and productivity, but the components that connect automated systems to the production floor are rarely one-size-fits-all. Traditionally, these custom parts may be machined, fabricated, or outsourced. That can add cost, extend lead times, and make even small design changes more difficult. 3D printing gives manufacturers a faster, more flexible way to produce automation components tailored to their equipment, products, and workflows.
3D-Printing Applications for Automation Parts
End-of-Arm Tooling
Industrial robots are designed to perform a wide range of tasks. Their parts are just as varied as the tasks they complete. This makes end-of-arm tooling one of the most important customization points in an automated work cell. Traditional vacuum grippers, robotic fingers, and mechanical clamps can be machined for a specific application, but that process can add cost and lead time every time the product geometry changes.
With 3D printing, your team can design end-of-arm tooling around your specific product and process more efficiently and cost-effectively. This makes greater customization much more accessible. Vacuum grippers can follow complex contours, fingers can cradle delicate surfaces, and mechanical clamps can incorporate product-specific contact points. Engineers can also integrate features such as internal air channels, mounting interfaces, identification markings, and replaceable wear surfaces into a single design.
Reducing weight is another important advantage. Lighter tooling can reduce the load placed on the robot and may allow it to move more efficiently. Additive manufacturing also makes it possible to consolidate multi-piece assemblies, remove unnecessary material, and create internal structures that would be difficult to machine.
An example of 3D printing end-of-arm tooling is Eaton’s manufacturing facility in Olean, New York. Olean uses SLS 3D printing to produce robotic fingers and other components that move metal oxide varistors between stages of production. The fingers are designed to accommodate different product sizes and can be reprinted in batches when normal use causes them to wear.
This approach made worn tooling faster and less expensive to replace while giving Eaton the flexibility to adapt the design for multiple product sizes. Across its broader additive manufacturing program, Eaton expected to recover its investment in nine months but achieved ROI in approximately six months.
Jigs, Fixtures and Nesting
Fixtures, jigs, and assembly nests play a critical role in keeping production accurate and repeatable. The challenge is that these tools often need to match a specific part geometry, making them expensive or time-consuming to machine when designs change.
3D printing gives manufacturers a faster way to create custom fixtures around the exact needs of the process. Assembly nests can be shaped to support complex parts, alignment guides can include built-in locating features, and printed components can integrate with standard hardware such as toggle clamps, pins, fasteners, and aluminum extrusion. This allows your team to use proven modular hardware while printing only the geometry-specific portion of the fixture.
That flexibility can shorten tooling lead times and make it easier to refine a fixture after it reaches the production floor. Instead of waiting weeks for an outsourced tool, engineers can print, test, and adjust a design in-house. Features such as part labels, orientation markings, ergonomic handles, and replaceable contact surfaces can also be built directly into the fixture.
For example, Productive Plastics uses SLS 3D printing to create manufacturing aids for changing customer geometries. In one application, the team needed a custom clamp fixture to maintain the correct spacing between a mold and a clamping frame. Ordering a machined fixture would have extended the lead time by two to three weeks, while using a larger sheet of material would have increased cost and waste. By printing the fixture in-house, Productive Plastics was able to use the optimal sheet size and get production running in one day.
.png)
Routing, Brackets, and Housings
Automation cells often need more than robots and controls to operate reliably. Sensors, cameras, cables, pneumatic lines, and other components must be positioned precisely, protected from the surrounding environment, and routed around moving equipment.
3D printing gives manufacturers a practical way to create custom sensor mounts, cable-management clips, brackets, protective covers, and equipment housings for specific work cells. These parts can be designed around existing machinery, helping teams place components where they perform best without modifying the larger automation system. Features such as mounting holes, wire channels, strain relief, labels, and protective geometry can also be incorporated directly into the design.
An example of 3D-printed brackets can be found in Valiant TMS high-impact-resistant bracket printed on the Stratasys Origin One. Producing it traditionally would have required two days on a five-axis CNC machine and one operator; additive manufacturing reduced the total time, including setup and post-processing, to no more than five hours and produced the part at a fraction of the machining cost.
Why Automation Parts Are a Strong Fit for 3D Printing
Automation parts are often custom, low-volume, and closely tied to a specific machine, product, or production step. That makes them a strong fit for 3D printing. Instead of waiting for one-off components to be machined or outsourced, manufacturers can move from design to a functional part in hours or days.
One of the biggest advantages is faster tooling lead time. Automation needs can change quickly when a new product is introduced, a work cell is updated, or a component fails. With additive manufacturing, teams can print fixtures, grippers, brackets, and replacement parts as needed, helping production respond faster without waiting weeks for an external supplier.
3D printing also makes iteration easier. Engineers can test a part on the factory floor, identify fit or performance issues, and revise the design before committing to a final version. This is especially valuable for EOAT, nests, sensor mounts, and other components that must fit precisely around existing equipment or unique product geometries.
Another benefit is the ability to preserve CNC capacity. When machine shops are used to produce low-volume tooling and automation components, that equipment is not available for production work. Printing those parts can free machining resources for higher-value applications while still giving manufacturing teams access to customized tooling.
Choosing the Right Process and Materials
The best 3D printing process for an automation part depends on how the component will be used. A lightweight robot gripper may prioritize strength and geometric freedom, while a sensor housing may require fine details, a smooth surface, or resistance to heat and chemicals.
Before selecting a technology, consider the part’s load, operating temperature, chemical exposure, dimensional requirements, surface finish, and expected service life. Material selection is just as important as the printing process. For a deeper look into some of the most popular materials and their best use-cases, take a look at our Formlabs or Stratasys materials guides.
SLS
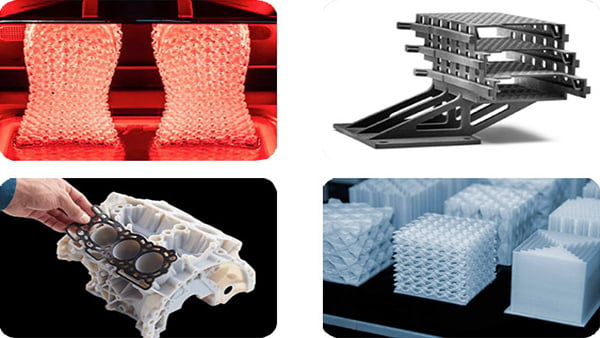
Selective laser sintering uses a laser to fuse polymer powder into solid parts. Because the surrounding powder supports the part during printing, SLS can produce complex geometries without dedicated support structures. This makes it especially useful for internal channels, interlocking parts, organic shapes, and batches of multiple components.
For automation applications, SLS is often a strong choice for:
- Robotic fingers and vacuum grippers
- Complex end-of-arm tooling
- Assembly nests and contoured fixtures
- Cable clips and compact brackets
- Durable replacement parts
- Low-volume batches of production tooling
SLA
Stereolithography uses a light source to cure liquid resin into solid layers. It is known for producing highly detailed parts with smooth surfaces and tight dimensional accuracy.
SLA can be a strong option when automation components require:
- Precise sensor or camera positioning
- Fine mounting and alignment features
- Smooth product-contact surfaces
- Clear or translucent housings
- Small, detailed brackets
- Ergonomic tooling with a refined finish
- Specialized properties such as flexibility, heat resistance, or electrostatic dissipation
FDM
Fused deposition modeling builds parts by extruding layers of thermoplastic filament. Industrial FDM systems can process a broad range of engineering thermoplastics, including materials designed for strength, impact resistance, chemical resistance, elevated temperatures, and electrostatic-dissipative applications.
FDM is commonly used for:
- Large jigs and fixtures
- Structural brackets and housings
- Robot-arm mounts
- Drill guides and assembly aids
- Protective covers
- Lightweight tooling
- Large-format prototypes and replacement components
How to Identify Your First Automation Printing Opportunity
The best place to start is not always the largest or most complex automation component. Look for a part that creates a recurring production problem but carries relatively low risk if the first design needs refinement.
Strong candidates are often components that are custom, frequently replaced, slow to source, or difficult to machine. Examples may include a worn gripper finger, an awkward sensor bracket, a product-specific assembly nest, or a cable guide that operators regularly adjust by hand.
Once you identify a potential application, document how the current part affects the process. Consider its cost, lead time, replacement frequency, installation time, and impact on downtime, scrap, cycle time, or operator effort. Establishing a baseline will make it easier to evaluate whether the printed alternative delivers meaningful value.
Next, define the functional requirements. A successful automation part must do more than fit. Determine the loads it will carry, the accuracy it requires, the environment it will operate in, and whether it will encounter heat, chemicals, abrasion, impact, or repeated motion. These requirements will guide the choice of printing process, material, and design approach.
For a first project, choose an application that is easy to test and measure. A non-safety-critical bracket, fixture insert, cable-management component, or replaceable gripper finger may provide a more manageable starting point than a highly loaded structural part. Print an initial version, test it in the work cell, gather operator feedback, and refine the design as needed.
Ordering custom 3D printed parts is a practical way to compare technologies and materials before investing in equipment for your facility. The CADimensions additive manufacturing team can evaluate your part’s geometry, performance requirements, and operating environment, recommend the right process and material, and print functional parts for testing.
.png)