SOLIDWORKS For Architecture
Is This Even A Thing?
As a SOLIDWORKS user, you’re aware that SOLIDWORKS’ forte is mechanical design. Does that mean SOLIDWORKS can’t be used for architecture? No, it doesn’t. Let’s be clear, though. If you are drafting house plans for a living, you will find better tools on the market. But with that said, if you have some occasional work to do, you may as well use the SOLIDWORKS software you are familiar with. If you’re an engineer looking to use SOLIDWORKS for some personal architectural projects, you may find this article helpful.
There is no architectural “add-in” for SOLIDWORKS. Rather, it’s a matter of adapting the software to work better for what you are using it for. Sometimes they are simple settings, like changing your units to feet and inches, or using tick marks instead of arrows for the dimension lines.
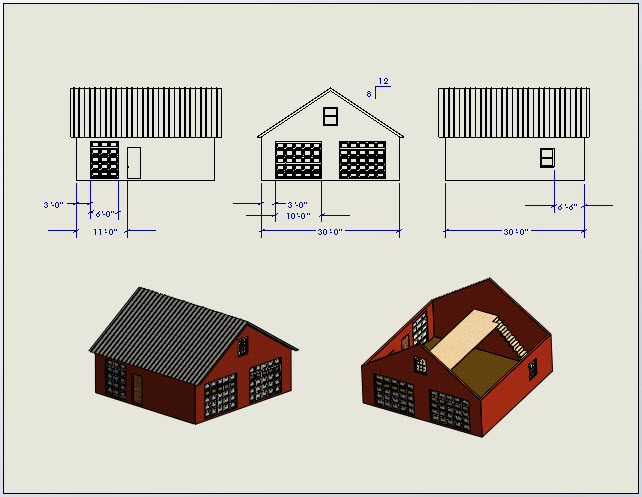
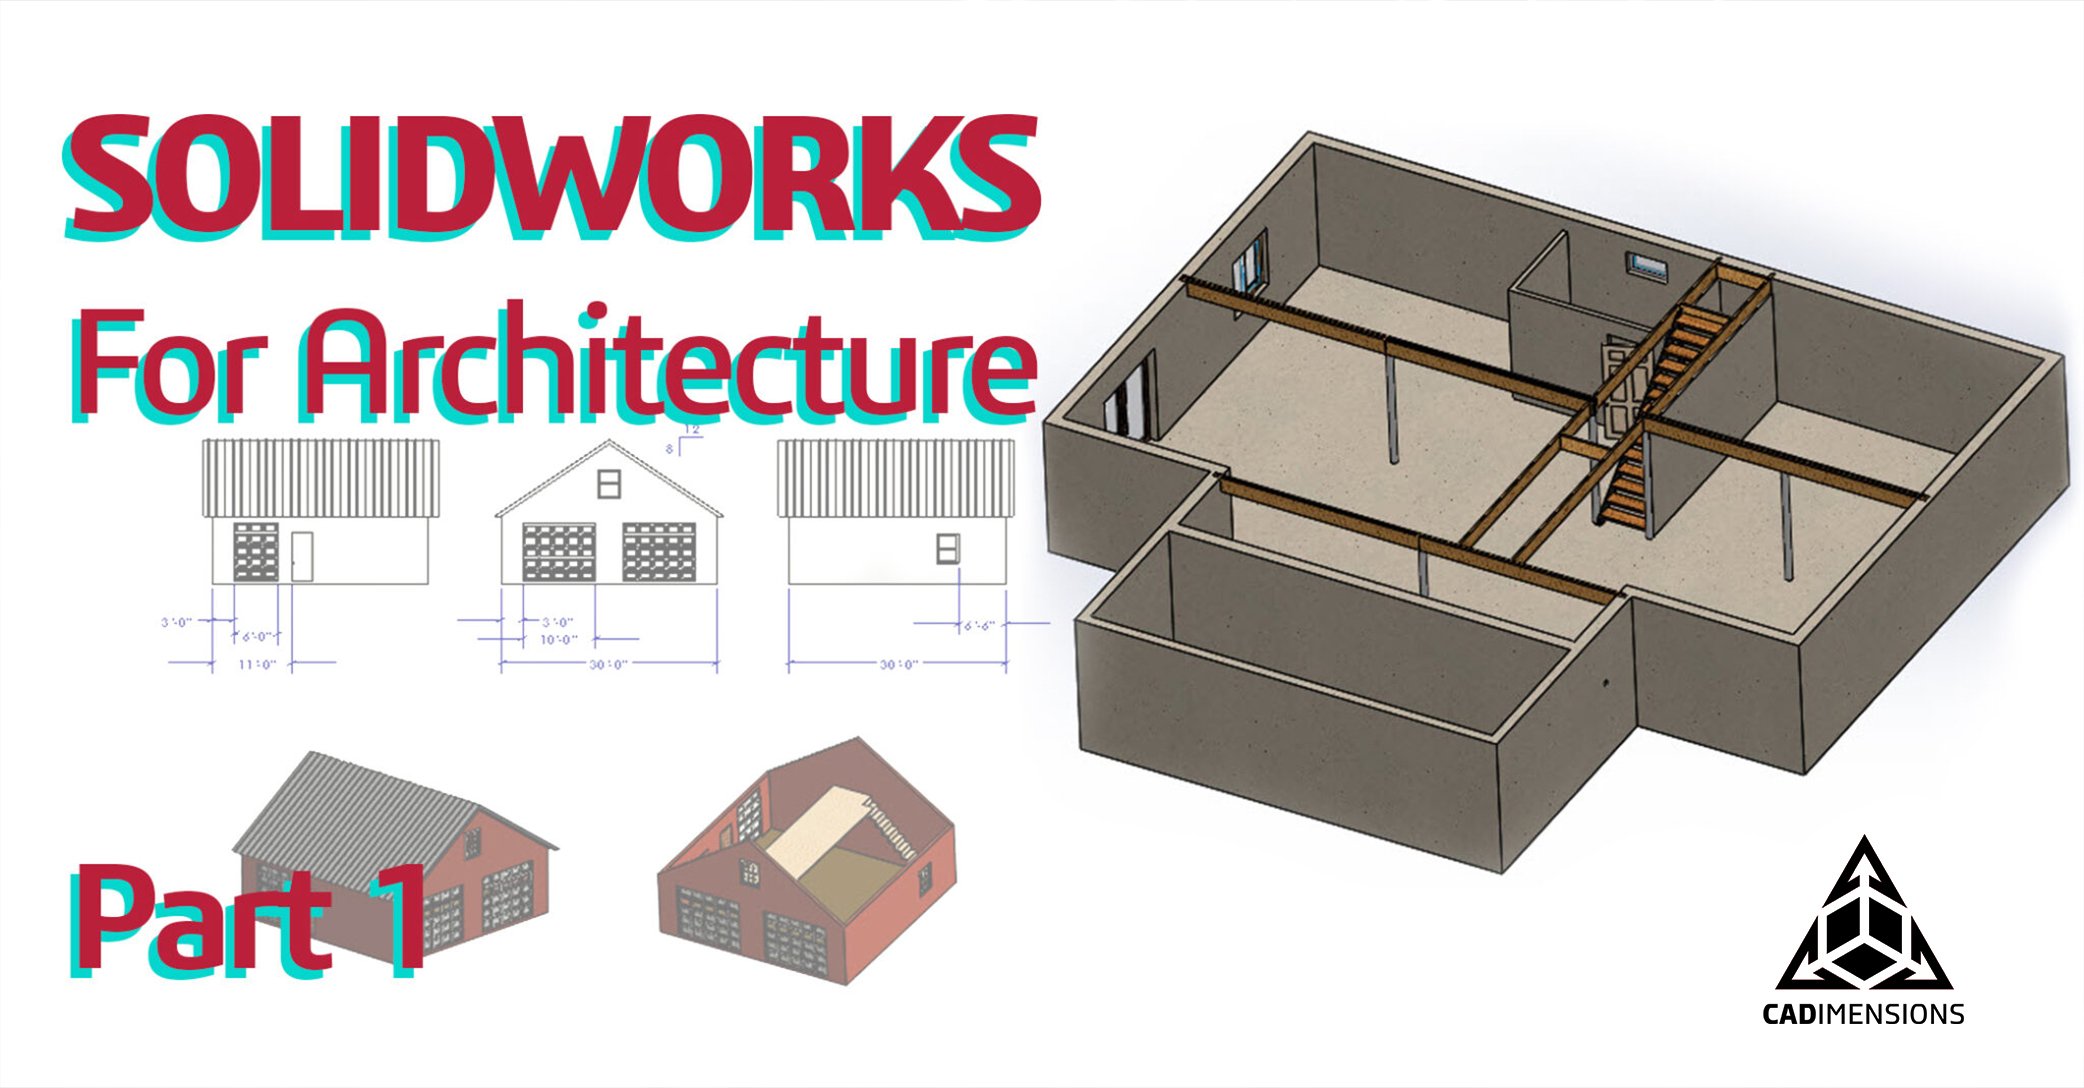
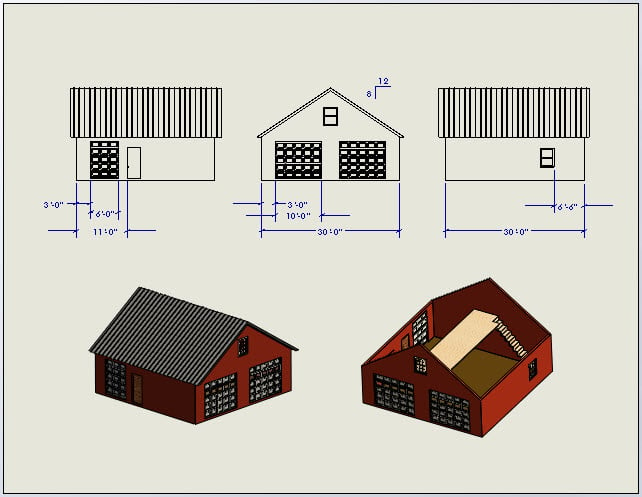
Different projects require different levels of detail. If you’re trying to design something simple like a pole barn, all you really need are the crucial elements; how big should the overhead doors be? Do you want windows, and where should they be located? Where do you want to position the man door? What’s the overall size of the structure? Add details showing what’s important to you. The contractor will figure out the rest.
If you’re designing a deck or shed, modeling the planks or 2×4’s will be helpful because you can create your own pull list for the lumber yard. We can refer to that as a bill of materials in SOLIDWORKS. Consider using the weldment functionality for framing a shed. It’s very easy to take an existing weldment profile, such as a rectangular tube, and adapt it to a standard 2×4 or other dimensional lumber. You can even figure out what lengths you’ll need by creating a weldment cut list.
Designing Your House
To design a house in SOLIDWORKS, you’ll want to take the appropriate approach. For instance, trying to model every 2×4 isn’t practical, nor is it necessary. In the case of building a house, you (or your framer) would normally either get a pull list from the architect or the lumber yard. The lumber yard has a vested interest in obtaining your money. They will be happy to generate a pull list from your plans, because they want to sell you the lumber!
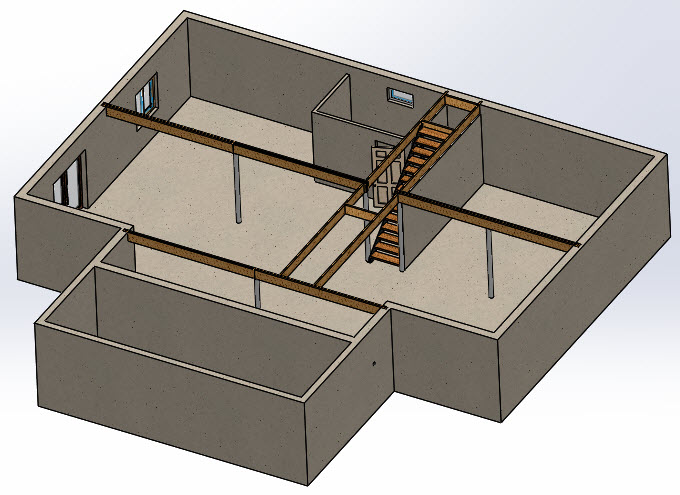
Similar to how it isn’t necessary to model every stick of lumber, it also isn’t necessary to model floor joists or roof trusses. You could do a rough mock up if you are trying to lay out paths for duct work (for example), but otherwise, it shouldn’t be necessary. Your architect will do the appropriate load bearing calculations to determine the size of the beams and trusses. What you may consider is modeling the post and beam locations. This will give you an idea of what obstacles you will be facing if the plan is to eventually create a finished basement. You don’t want a post in the middle of your home theater!
What Tools Should I Use?
When designing my house, there were a few tools I found particularly useful. The Design Library, for instance, can be a big time saver. Library Features are convenient for details like window or door openings. In that same vein, use Library Parts for the actual windows and doors. Need to add a 30 x 80 door to a room? Drag it in and drop it into place. Add a couple mates and you’re ready to move on. Incidentally, angular limit mates work great for getting doors to close or open to the proper angle.
Configurations lend themselves very nicely to windows and doors. Standard sizes can be created quickly and easily using this approach. A standard interior door can be a single part with multiple configurations, which also makes it very easy to change things up if you decide a door needs to be a different size.
The Floor Plan
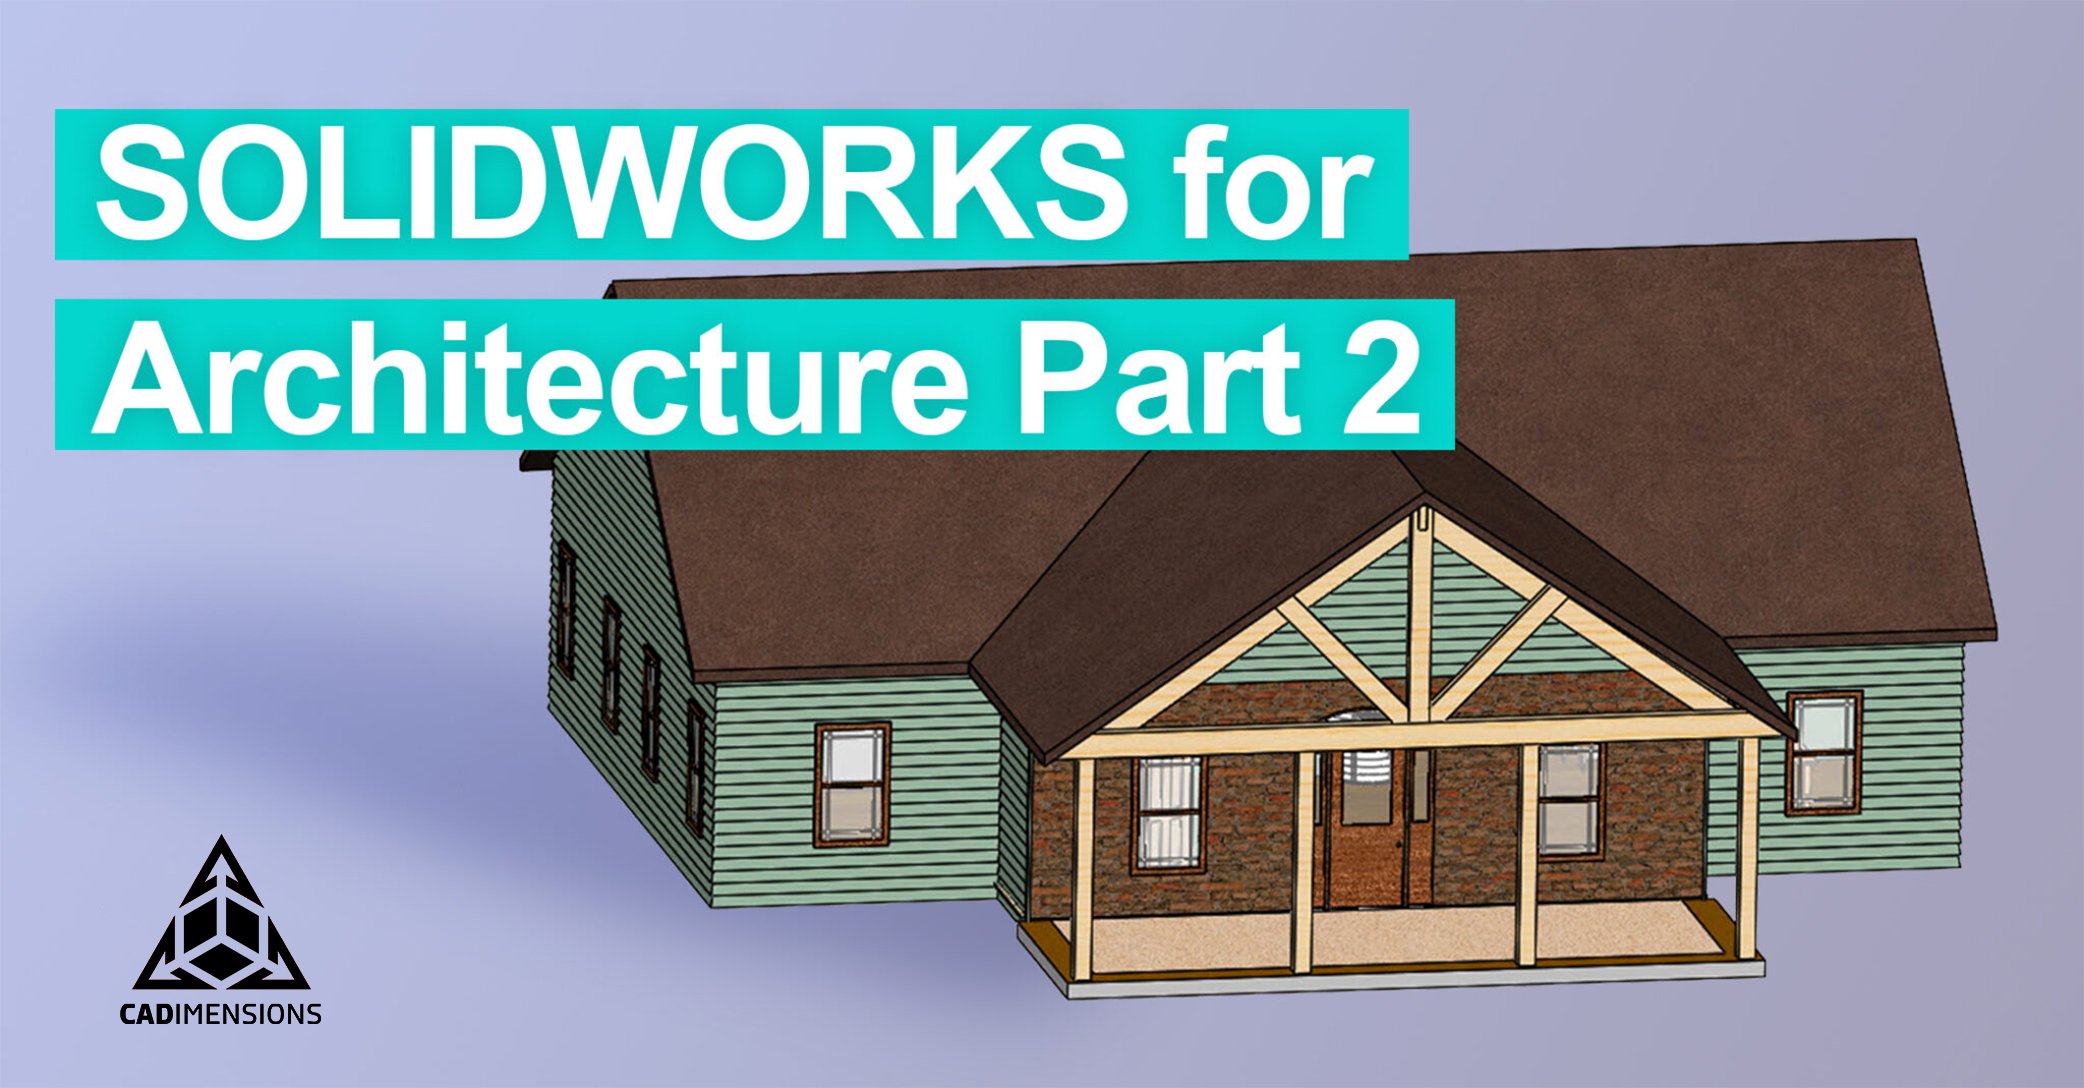
Generally speaking, when it comes to designing the layout of the house itself, you’ll be using thin features. Create the outside walls first and decide on a general shape. Considering building code requires 6″ exterior walls, if you make them 7″ thick to account for interior sheet rock and exterior cladding, you’ll be darn close to the actual value. Interior walls should be 4 5/8″ thick to account for the true width of a 2×4 plus 1/2″ sheet rock on either side of the wall. Start adding doors and windows and see where it takes you.
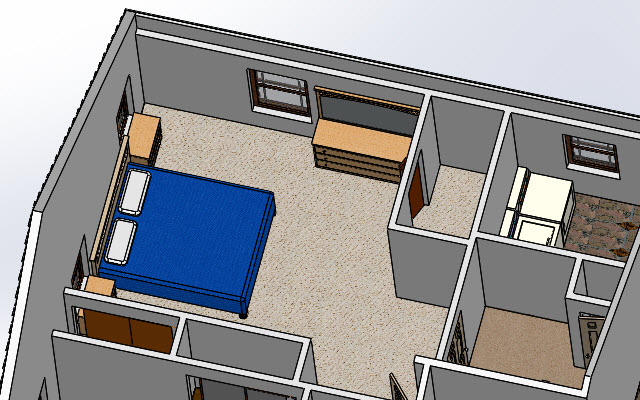
If you really want to take it to the next level, model up some furniture and make yourself a SOLIDWORKS “doll house”. Move things around inside your virtual home to see how everything will play out. In an example from my personal experience, we were able to determine a large piece of furniture, if placed where we wanted it, would have partially blocked a window. Since the window was at the back of the house, I simply moved it over half a foot. It was a simple fix, but we would never have known it had I not modeled the furniture. The furniture doesn’t have to be works of art, either, but obviously you’ll want to make sure the dimensions are close to reality. You may even be able to download items from the web, such as a washer or drier, and tweak them to fit.
Your House Plans
Once you have the layout finished, create the drawing and get all of your dimensions in place. The end result won’t be perfect, but it won’t need to be. Your job is to give the architect the general dimensions and layout. Save your drawing as a DWG file and give that to your architect, because it’s doubtful they will have SOLIDWORKS. They will then be able to draw up your plans using industry standard nomenclature and symbology, and give it their professional engineering stamp of approval.
Designing your house in SOLIDWORKS can be immensely entertaining, but it can also be challenging. Break up your house model into logical part categories, such as the basement walls, the main floor, the roof. Rename your features as you go, such as Livingroom, Bedroom1, Master Bath, and other logical names. You will probably find your house modeling project will take multiple iterations. Don’t be afraid to scrap something and start over if you think a new approach will work better. The end result is what’s important, and getting there will probably be a learning experience, even if you are a veteran SOLIDWORKS user. Keep it fun, and Happy Modeling!

