Improving Quality Control with 3D Scanning
Solving Problems with Traditional Quality Control
Quality control is the most vital part of your manufacturing facility. Over 85% of manufacturers said it’s the number one thing they want to improve in their facilities. Quality drives the success of the business and grows its reputation by ensuring that customers only receive parts they want. Let’s take a look at some common problems we face in quality control and how 3D scanning can change how you think about a quality inspection.
Accuracy Ensures Quality
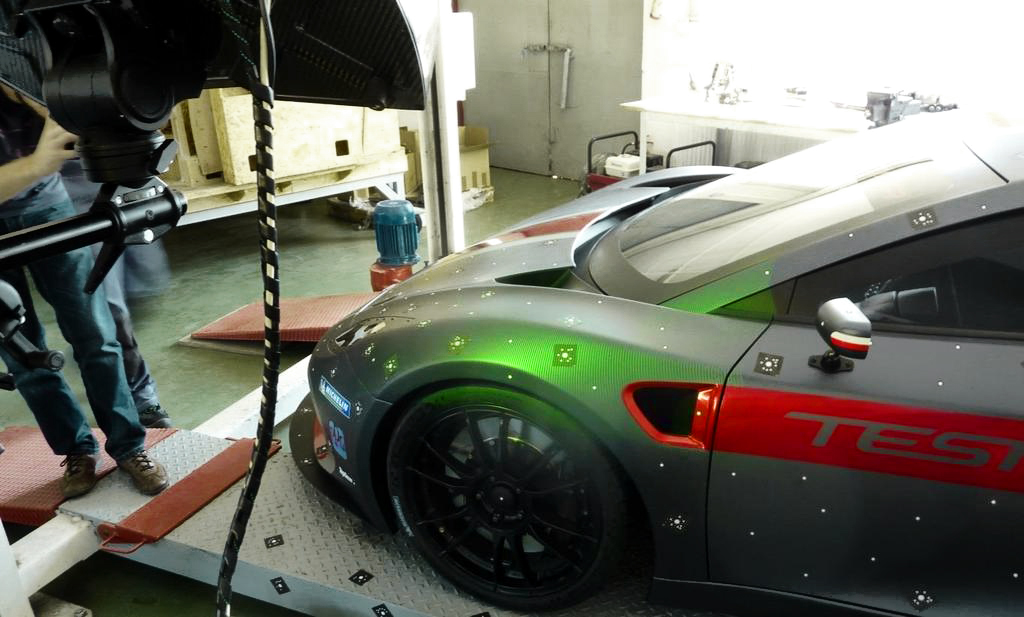
How accurately you can measure parts not only effects your confidence in your current production, but your capability of taking on more challenging, high revenue jobs. In many cases, your everyday inspection hand tools are capable of accurately measuring dimensions. What about times when they can’t? For some parts, the repeatability and reproducibility of hand tool measurements are not reliable enough to get the job done. 3D scanners are capable of achieving sub-millimeter accuracy across every scan. Structured light scanning systems are capable of creating highly detailed scans for objects as small as text on a penny to as large as a car. 3D scanning gives quality engineers absolute confidence in taking on complex opportunities.
Time is Money
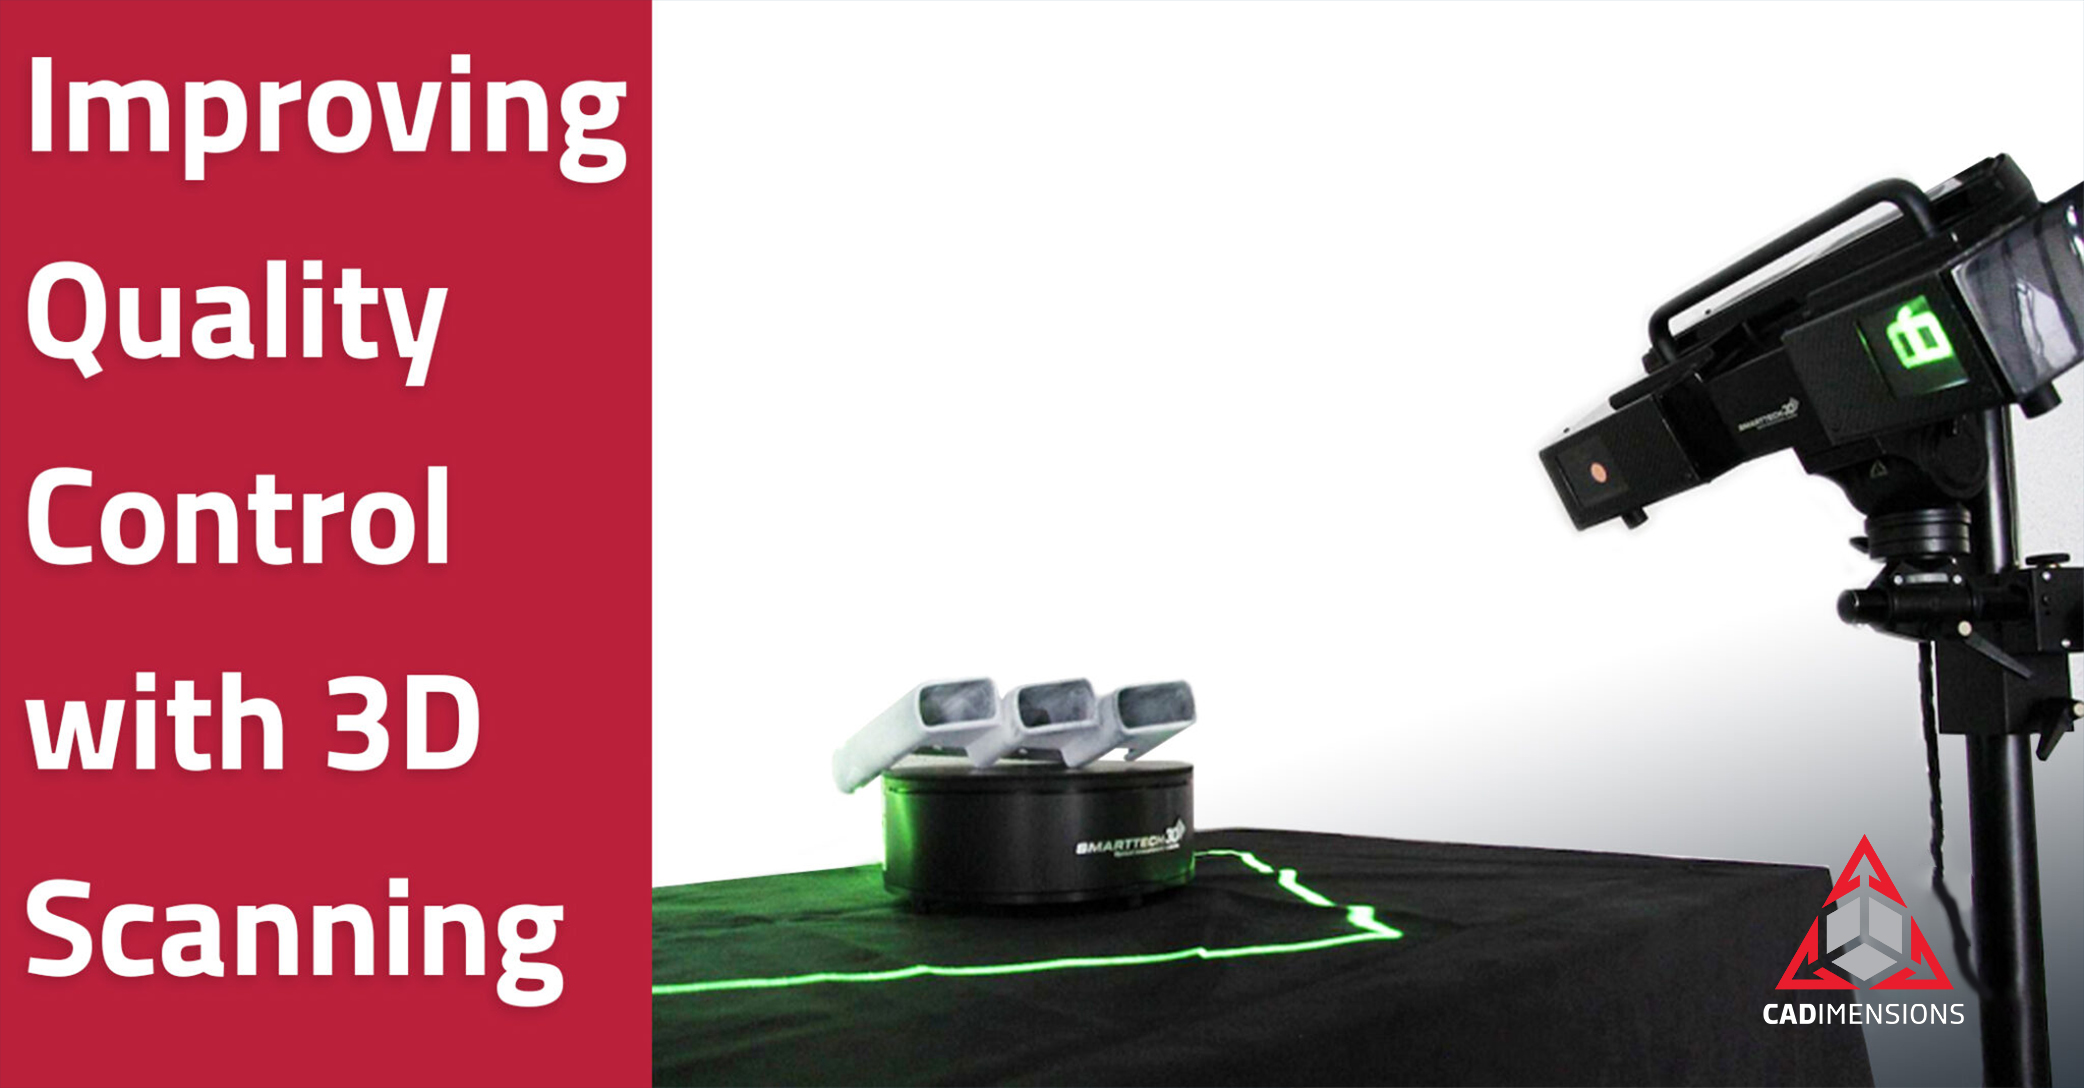
Generally, when people think of 3D scanning, they think high levels of accuracy are the greatest benefit of implementation. The often-overlooked advantage is cost savings from the reduction of time. Manufacturing facilities will need to go through a production part approval process or (PPAP) whenever they are taking on new jobs. This process can be incredibly time-consuming, taking anywhere from hours to months depending on the size of the job. Parts don’t necessarily need to have very tight tolerances to take a long time to approve. Large quantities of holes and odd geometries stretch out the approval process, taking your quality team away from inspecting the finished product. Time spent on this process only gets worse when you factor in all of that paperwork you have to fill out. SMARTTECH3D scanning systems are able to generate inspection reports from scan data. Once set-up, operators simply put the part on the turntable, hit go, and walk away while the scanner measures and generates the report automatically. This report can be customized to address each of your individual customer needs and requirements, letting operators work on inspecting parts and not filling out paperwork.
Resource Utilization
As mentioned before, a person’s time is one of the most valuable assets to a company. Skilled employee’s time is expensive, and anytime they are not utilizing those skills is a missed opportunity. Automation of tasks allows quality engineers and technicians to focus on preventative inspection and correcting non-conforming parts. Unlike hand-held inspection systems, tri-pod based systems can be synced with turntables to fully automate the scanning process. This, in turn, allows your team to spend more time out on the floor and not sitting at QC.
Complexity without Sacrifice
If you are producing a product with non-uniform curved surfaces, like fan blades or airfoils, the solution you probably have for measurement is a CMM. CMM’s measure these non-uniform curves by taking a sample of measurements across the surface, and assumes these points are an accurate reflection of the whole of the surface. 3D scanners are capable of taking over 100,000 points per square inch across any geometry. By increasing the number of measurement points taken, 3D scanners generate more accurate reflections of what the overall surface looks like. This means that no matter how small a defect is, or complex the surface, nonconformance will always be caught. When you’re 100% confident in your product, parts go out the door and customer returns don’t come back.
Exceed their expectations
3D scanning allows you to reliable measure sub-millimeter features and take on more complex jobs. Save time on part qualification and inspections, while creating customized reports to meet the requirements of all your customers. Allow employees to focus on doing their jobs and not spending endless hours measuring parts by hand. Finally, measure more geometry confidently, and ensure that the products your customers receive exceed their expectations.

