8 Reasons 3D Scanners Crush Traditional Quality Control
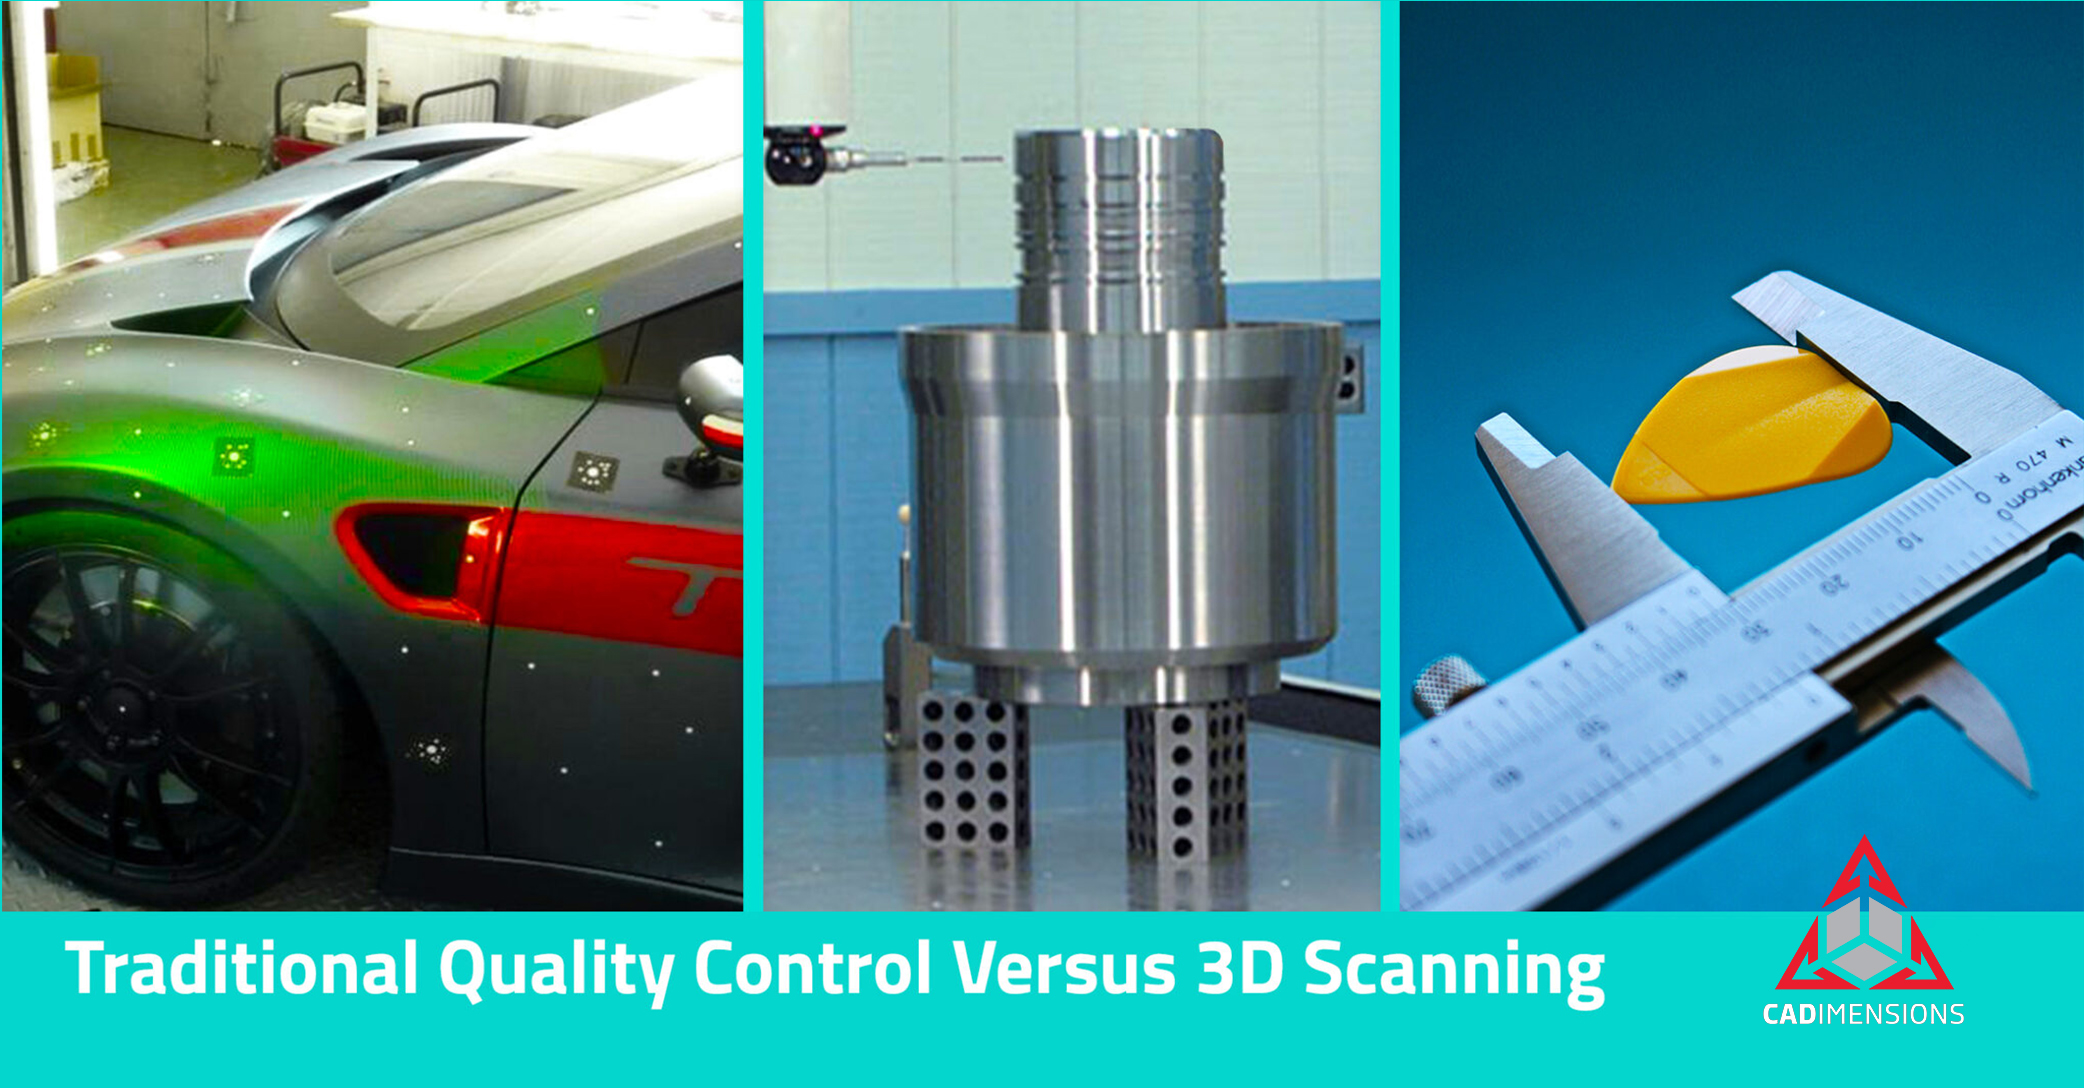
Quality control is an essential step for every manufacturing company. However, so many businesses still use manual inspection tools like gauges and calipers. Operations that require more precision have used Coordinate Measurement Machines (CMM’s) for decades. That is destined to change, and quickly.
3D scanners are being adopted by companies everywhere looking for an alternative to CMM machines. While both are able to provide detailed measurements of complex parts, 3D scanners offer a number of advantages that are often overlooked.
1. Replace manual work with automated measurement and report creation
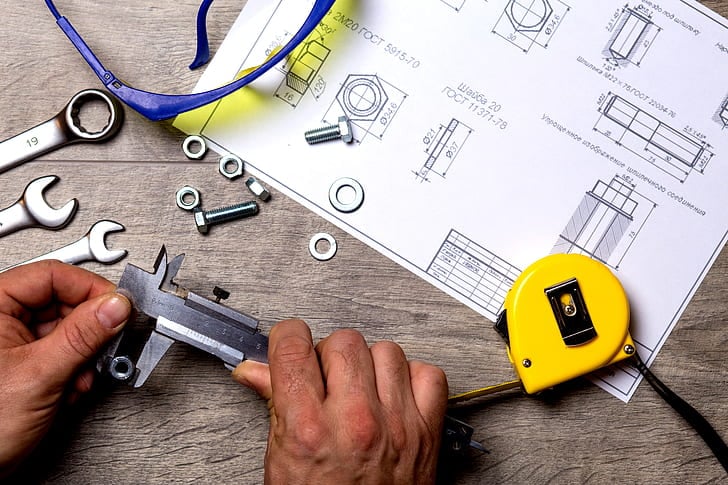
Manual measurement tools are used all around the world. The simplest examples can probably be found in any home or office – rulers and tape measures. These tools are great for crafts or woodworking, but industrial applications require more precision and repeatability.
Calipers and gauges offer precision and repeatability, but still require hands-on work. Quality Engineers around the world are trapped doing tedious measurements and filling out forms on clip boards. Instead, they could be working closely with Process Engineers to prevent quality control issues from happening in the first place.
2. Eliminate repeated data entry work
In a typical manufacturing environment, once a batch of parts has been completed, they are set on a pallet waiting for inspection. From talking with dozens of companies about their quality control processes, I have heard and seen how severe this “waiting for inspection” problem can be.
Often, companies have pallets and pallets of parts waiting for quality control to check them before they can be shipped and bill the customer. Engineers have told me that the backlog of inspection would take them 2-10 weeks.
When the quality control department starts their process, they measure the parts with manual tools. They fill out a pen and paper form with the data. Next, it is entered into a spreadsheet to be stored digitally, and analyze the quality of each batch over time.
The process of filling out a paper form, then entering data into a spreadsheet is a waste of time. Admittedly, some companies get around this by placing a tablet or computer at each measurement station. However, that is far from perfect because it still requires hands-on time and therefore labor cost to measure the parts.
3. Eliminate inconsistency between users
Take a look at the image below. How long is the piece of wood? If you showed that image to someone else in your office, what would they say?
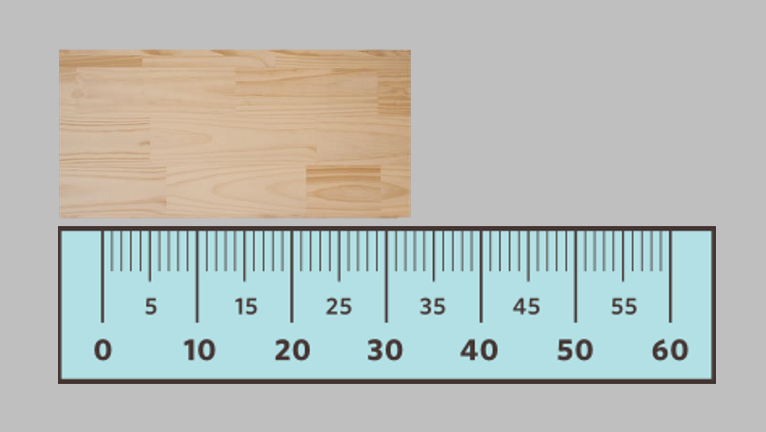
In reality, it is really hard to know precisely how long it is. While we like to think that everyone interprets a measurement the same way, it’s just not true.
A common example is digital calipers. Let’s say that a hole diameter should be one half inch. If you measure it with calipers and it reads 0.42 inches, if you push a little harder, you can make it say one half inch. In a quality control process, you can’t control how hard someone presses the calipers.
What about pin gauges instead? Surely that would fix the problem. In practice, how can you know that every person measuring the parts interprets the fit of a pin gauge exactly the same?
4. High accuracy
Many operations make parts with relatively flexible precision. For example, sheet metal shops often set a standard precision of +/-0.005”. Depending on the design of the part and the how much the customer is willing to pay, they could be more precise.
While the accuracy of a 3D scanner varies, many are accurate within +/-0.001” for small parts. While some industries require greater precision (aerospace for example), this level of accuracy and repeatability makes 3D scanning viable for most situations. Injection molding, machined components, and metal or plastic extrusion would be only a few examples.
5. More points = better inspection
Coordinate Measurement Machines move in at least three axiis and use a touch probe to gather measurements. Every time the probe touches the part being inspected, that becomes a digital point in three-dimensional space that is stored digitally. This creates a cloud of points, that is then compared against the CAD model. An inspection report can be created from all of these measurements.
Collecting a single point requires the CMM to move into position and that movement takes time. It’s common for a CMM inspection process to take 15-20 minutes – minimum – for it to move around and take the measurements.
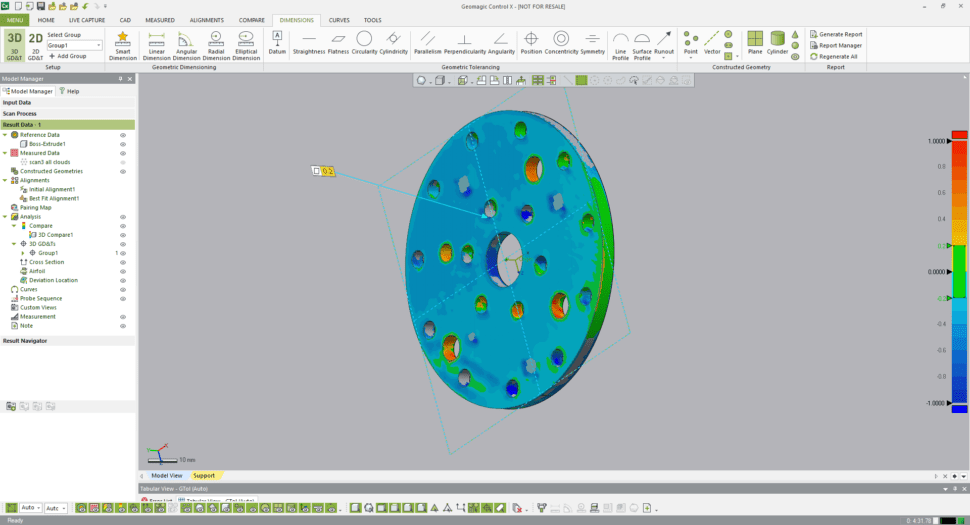
By comparison, 3D scanners can take hundreds of thousands, or even millions of points in a matter of seconds. Flash some lights at the part, and gather millions of points. That point cloud can be used to create a heat map of where a part is within or out of the acceptable tolerance range.
6. Eliminate CMM programming time
Each part that is inspected on a Coordinate Measurement Machine requires a program to be made. Typically, for every feature that needs to be inspected, it takes at least five minutes of programming time. Once the program is made, it can be used over and over again.
Typically, for every feature that needs to be inspected, it takes at least five minutes of programming time.
If you look at the example part below, every hole would require five minutes of programming. Not to mention, the outer diameter and flatness of the part also requires programming time.
Geomagic Control X – which we use to create inspection reports from 3D scan data – is far simpler to use. Any engineer who uses SOLIDWORKS should be able to pick up the software pretty intuitively. You are able to load the CAD model, select which features you’d like to inspect, and save an inspection template.
The inspection template can be used over and over again. Unlike with a CMM, it is able to be created more quickly, without requiring a two-year degree in CMM programming, if not more education.
7. Eliminate the need for fixtures
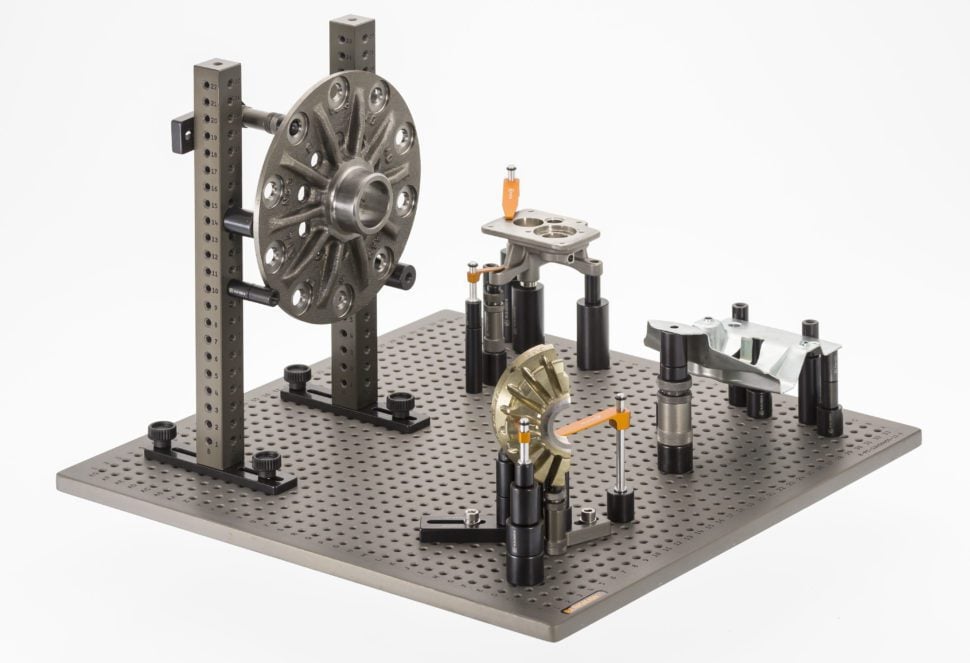
Every part that needs to be inspected needs to be fixtured in place – essentially bolted down in some way. The Coordinate Measurement Machine makes physical contact with the part every time it gathers a data point. Because of this, if the part was not clamped in place, it would move when the probe touches it, and the whole measurement process wouldn’t work as intended.
Many off-the-shelf fixturing and clamping solutions exist. However, complex parts usually need their own custom fixturing made. For most companies, this means waiting 2-6 weeks for the internal machine shop to cut an aluminum fixture. Depending on the size, those fixtures can cost thousands of dollars in material and labor.
3D scanners offer an alternative to making new CMM fixturing for every part that needs inspection. 3D scanners come with turn tables to set the part on. The turn table will rotate and gather point cloud data at whatever intervals you specify. If all the points weren’t gathered in the first rotation, you can pick up the part, position it differently, and measure again.
8. Inspect any GD&T
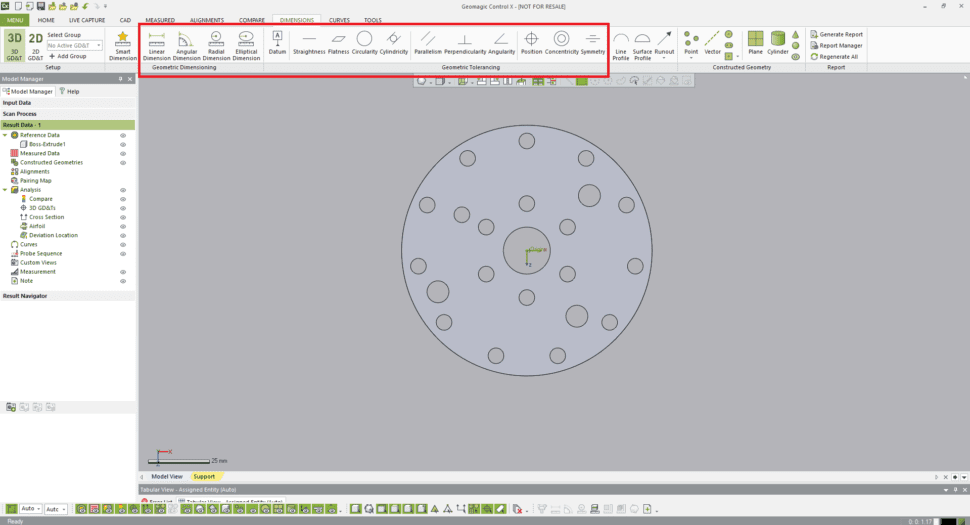
Some aspects of inspection are more difficult to measure than others. Flatness and Concentricity are two measurement criteria that often come up in conversation. These are more challenging to measure with conventional measurement tools.
When compared to a CMM, 3D scanning is far superior for measure flatness. Often, a CMM will gather nine points or so, and use that to determine flatness across an area. The reason so few points are gathered is because of the time it takes for the CMM to move to each location. Every point that is gathered adds to how long the total inspection program takes.
With a single turn table rotation, a 3D scanner can create a point cloud of an entire part. That data can be used to inspect things like concentricity or the radius of a fillet. Nearly any feature on a technical drawing that needs to be inspected can be measured quickly.
Closing Thoughts
Traditional quality control methods have been effective for industry for decades. Just because they have worked in the past doesn’t mean that they’re the best possible solution with the technology that is available today.
If this information has been helpful, we have created a checklist that will ask you questions about your current process. Depending on your score, it will tell you whether or not your company should start investigating 3D scanning for your quality control process.

