In the first installment of this series, we explored how Trinckle's Additive App Suite simplifies the creation of custom work holding, tool organization systems, and other shop-floor aids without requiring traditional CAD expertise. By replacing complex modeling workflows with guided, application-specific design tools, Trinckle makes it easier for more people within an organization to create functional parts for additive manufacturing.
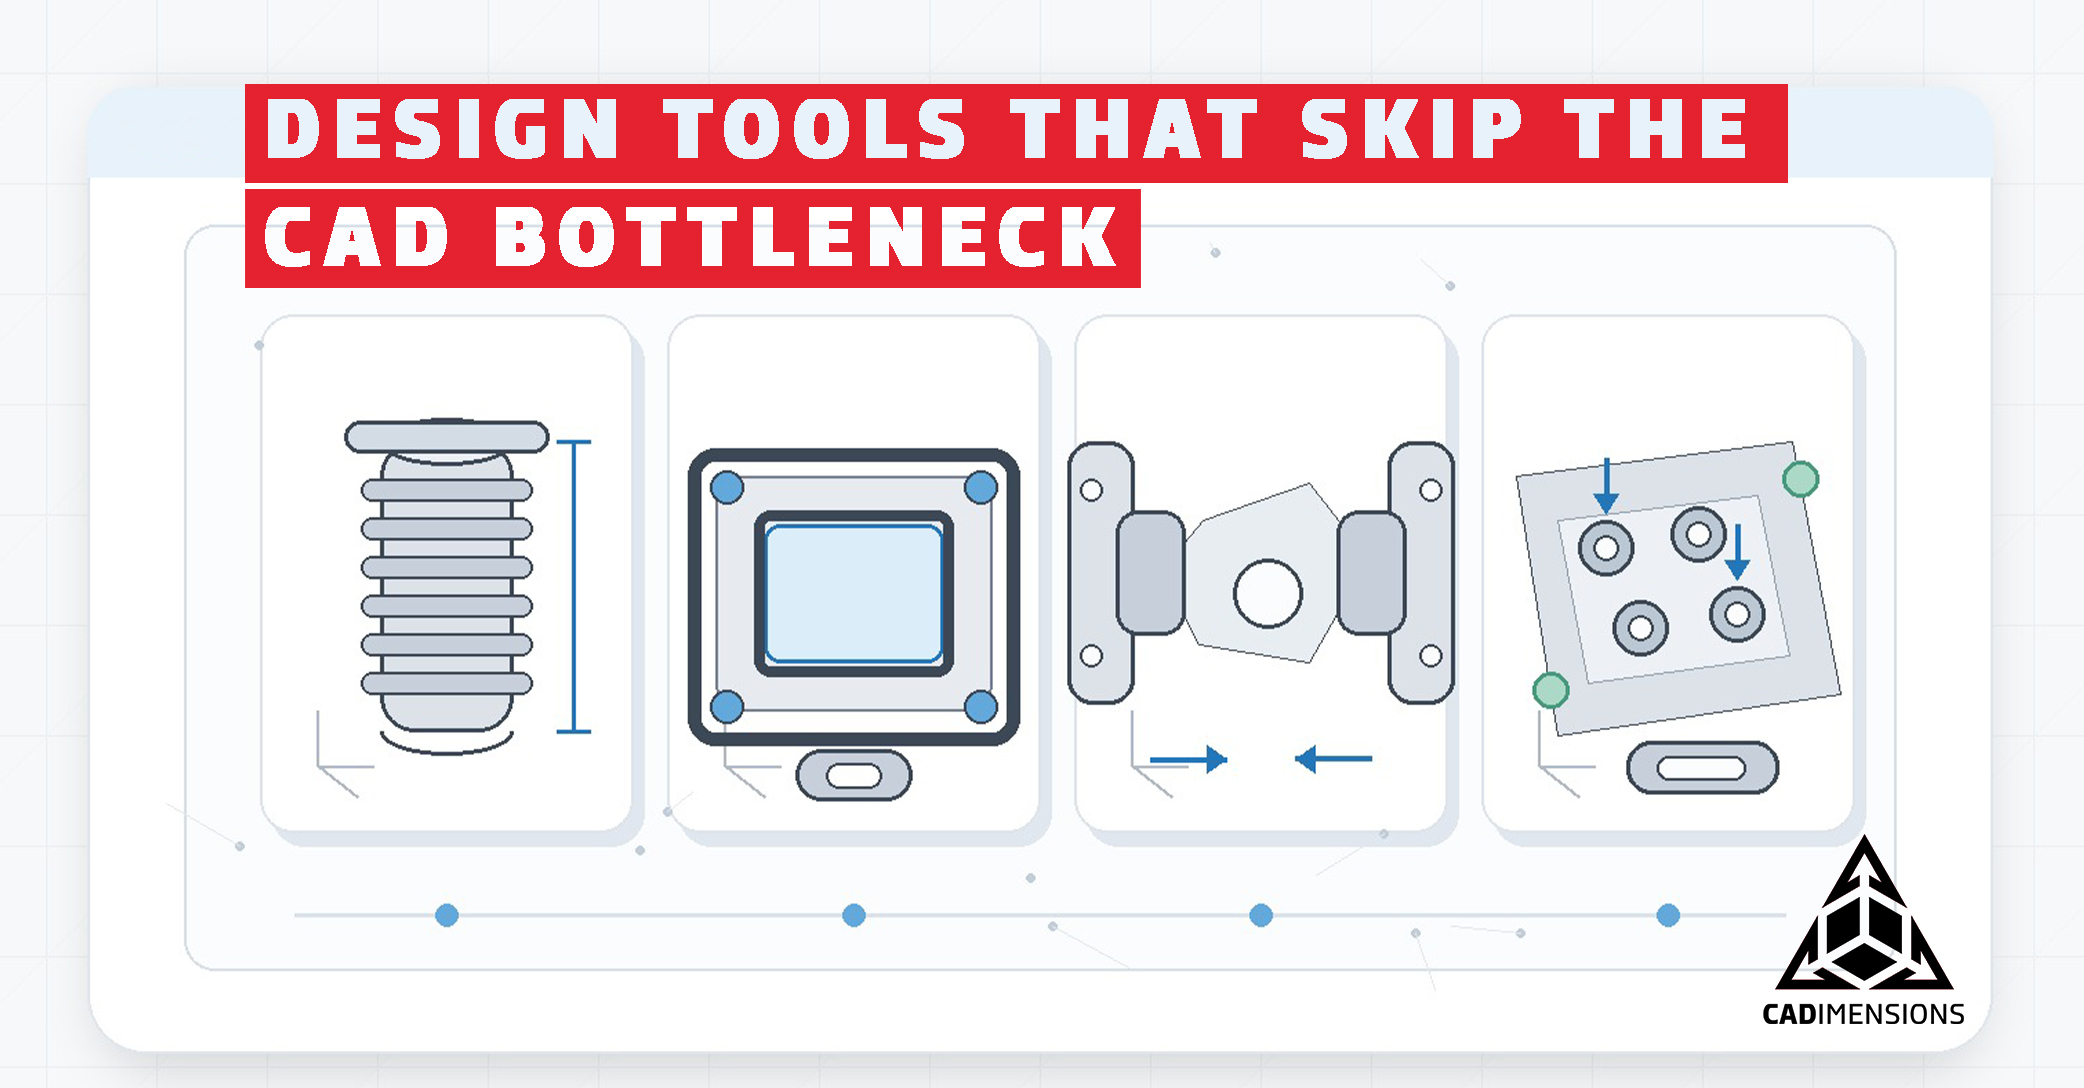
That same philosophy extends beyond organization and work holding. Many manufacturing environments rely on specialized fixtures, protective devices, and end-of-arm tooling that are often simple in concept but time-consuming to design. Whether it's creating custom plugs to protect critical surfaces during finishing operations, designing drill guides to improve consistency and accuracy, generating masking devices for coating processes, or developing robotic grippers tailored to unique parts, these applications frequently require repetitive CAD work that can become a bottleneck.
In this installment, we'll examine several additional tools within the Additive App Suite that target these common manufacturing challenges.
Custom Protective Plugs for Holes and Threads
To begin, let's take a look at the Protective Plugs App. Here we can design plugs to fit in any size hole in order to keep dust and debris out or protect the threads. To use this app, we need to know 3 things: Number 1: The diameter of the hole. Number 2: How long the plug needs to be. Number 3: How far into the hole the plug should be inserted. Once those three parameters are set, the plug is, technically, fully defined. However, if the application requires a ribbed plug for extra grip, or a dust lip to keep out small debris, those features can be added and modified with just a few clicks!
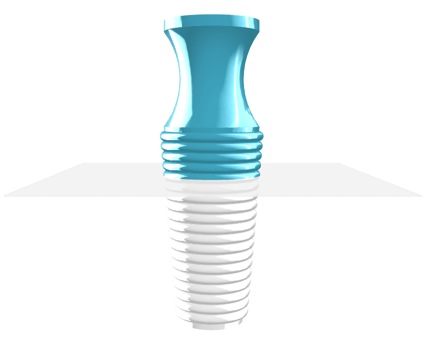
A protective plug designed to be 20mm long with a 15mm ribbed insertion depth.
Printable Masking Tools for Paint and Finishing
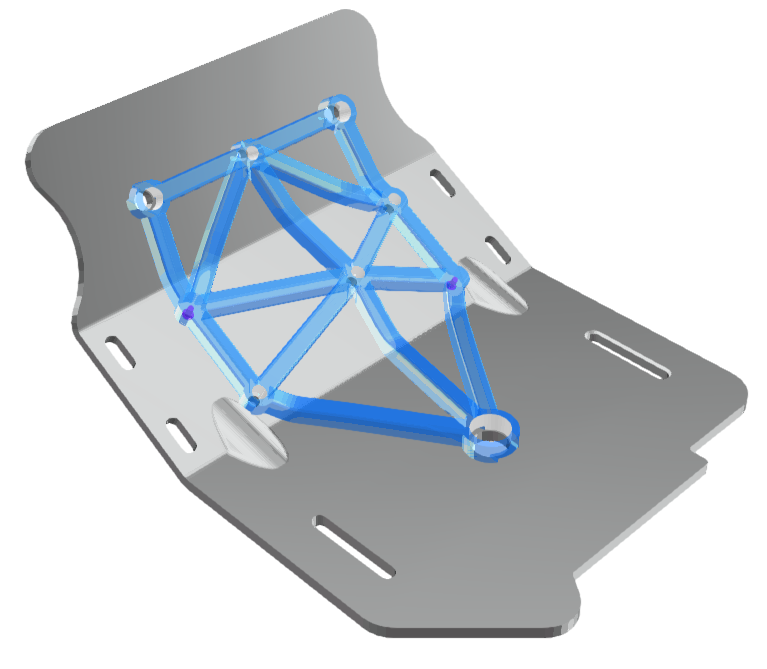
Protecting holes and internal threads is great, but what about everything else? What if entire faces need to be protected or masked from paint or other finishes? This application is exactly where the Masking App becomes useful. If you and your team are tired of manually masking parts, this app is for you!
The Masking App is a bit more involved than the Protective Plugs app, but still very intuitive. First, start by importing the workpiece.
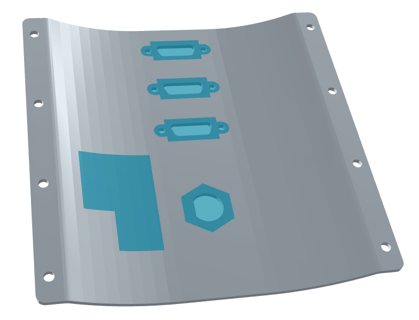
A workpiece imported in an STL format.
The next step is to identify our treatment surfaces. These are the areas where a process, such as paint or powder coating will be applied. They are highlighted in blue and the app automatically outlines them with a black perimeter.
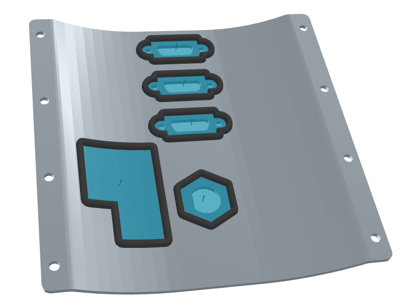
Treatment surfaces defined on the workpiece.
The third step is to add locator pins. The pins fit into holes on the workpiece and help align the mask correctly. To define a locator pin, all we need to do is click!
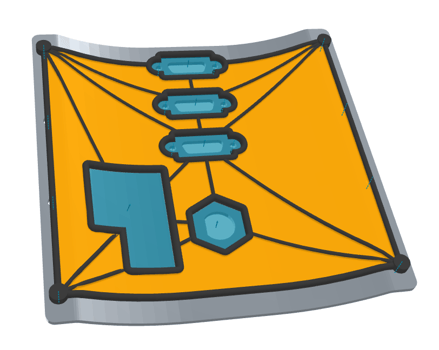
The mask with 4 locator pins defined, one in each corner.
Once the locator pins are defined, additional features can be added, such as guides, nodes, and handles. Guides fit along the edge of the workpiece, effectively serving the same function as the locator pins. Nodes add more rigidity to the mask by increasing the number of ribs. Finally, a handle can be added to easily place and remove the mask from the workpiece.
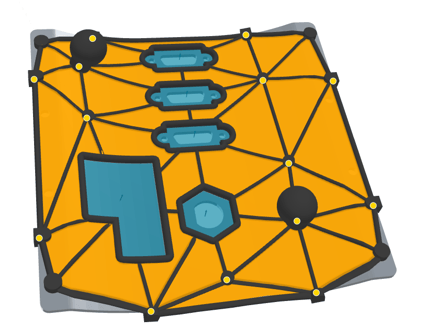
The mask with added guides, nodes, and handles.
Lastly, we need to define the parameters of the mask frame. To do this, we can select low, medium, high, or custom stiffness. We can also define this parameter by manually sizing the thicknesses of the inner frames, outer frames, and the mask itself.
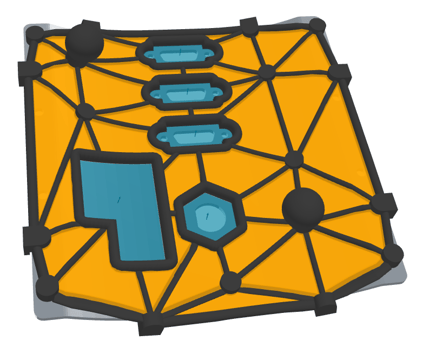
A medium stiffness mask frame.
Once the mask is fully designed, all that's left is to export and print!
Robotic Fingers for Custom Part Gripping
Our next App to feature is Robotic Fingers. Here, you can custom design a set of fingers to grip workpieces with unique geometry, thus reducing tooling costs.
Once a workpiece is imported, it's time to set up the basis of our fingers. You can choose from a number of known interfaces, such as Schunk KGG 60-40 or Schunk EPG-40, or use a custom interface. For demonstration purposes, we will use a Schunk KGG 60-40 interface with a stroke distance of 70mm. If the part geometry allows it, you can select to grip the workpiece from interior geometry, such as a cavity.
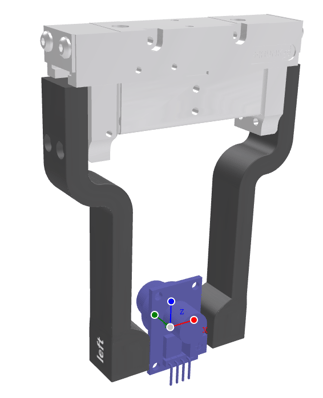
A Schunk KGG 60-40 interface set to a 70mm stroke length.
Next, choose the type of finger you would like to use. You can choose from straight, curved, or just the fingertips. Once the finger style is selected, we have the opportunity to adjust the size of the fingertips and label them accordingly. The software automatically cuts away any material that conflicts with the workpiece, so the fingers will grip parts perfectly, every time! Just export, print, and pick!
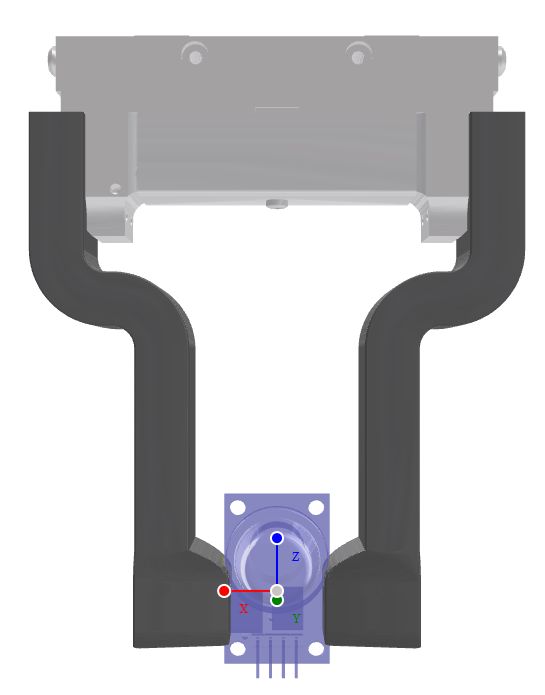
A set of robotic fingers ready to be exported and printed.
Drill Guides for Faster, More Accurate Hole Placement
The last app to review in this blog installment is the Drill Guides App. Manually drilling or reaming holes requires the center point to be located each time. For one or two parts this may be feasible, but for higher production quantities, this task soon becomes repetitive and prohibitive. The Drill Guides App allows users to quickly design 3D printable alignment tools so drilling holes becomes a faster, more accurate process.
After the workpiece is imported, the holes to be drilled need to defined. The app includes an "auto-detect" feature that immediately identifies holes without having to manually choose each one. If you would like more control over which holes are selected, you can import a CSV as well.
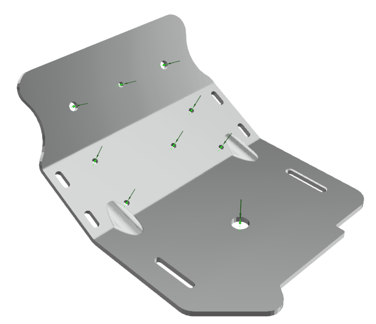
Holes that have been identified will show a green arrow in the direction that the hole will be drilled.
Similar to the Masking App, the Drill Guides App requires the use of locator pins to ensure the guide is aligned correctly on the workpiece. These pins are defined by simply selecting a couple of the holes that have been previously identified.
With the locator pins set, it is time to select the body type of the drill guide. Users can choose between lightweight and solid options, as seen in the images below.
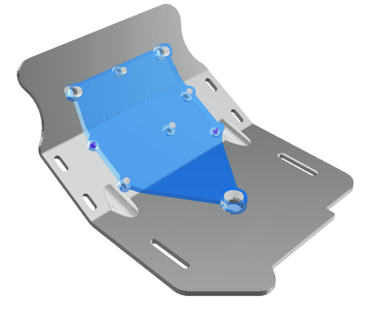
A solid drill guide body.
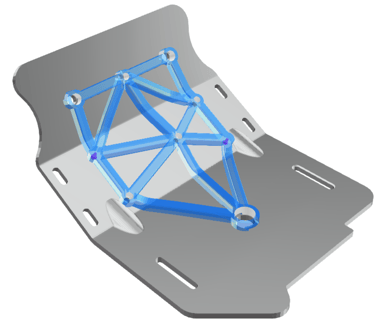
A lightweight drill guide body.
With the bulk of the design complete, users also have the ability to add bushings to improve drill bit accuracy, labels to denote the size of each hole, and a handle to easy move the drill guide from one workpiece to another.
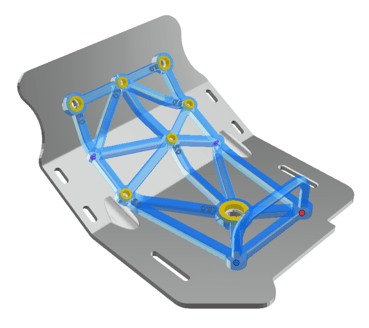
A drill guide with bushings, labels, and a handle added.
How Trinckle Reduces Repetitive CAD Work
As we've seen throughout this installment, the Trinckle Additive App Suite extends far beyond simple organizational tools, providing purpose-built applications that address a wide range of common manufacturing challenges. From protective plugs and masking devices to robotic grippers and drill guides, these apps eliminate much of the repetitive CAD work traditionally required to create custom production aids.
By transforming complex design tasks into intuitive, parameter-driven workflows, Trinckle enables engineers, technicians, and shop-floor personnel to develop functional, production-ready solutions in a fraction of the time. The result is a more agile manufacturing environment where custom tooling and fixtures can be designed, printed, and deployed quickly to improve efficiency, consistency, and quality.
In the next installment of this series, we'll continue exploring the Additive App Suite and examine additional applications that help manufacturers unlock even greater value from additive manufacturing technologies. See you next time!